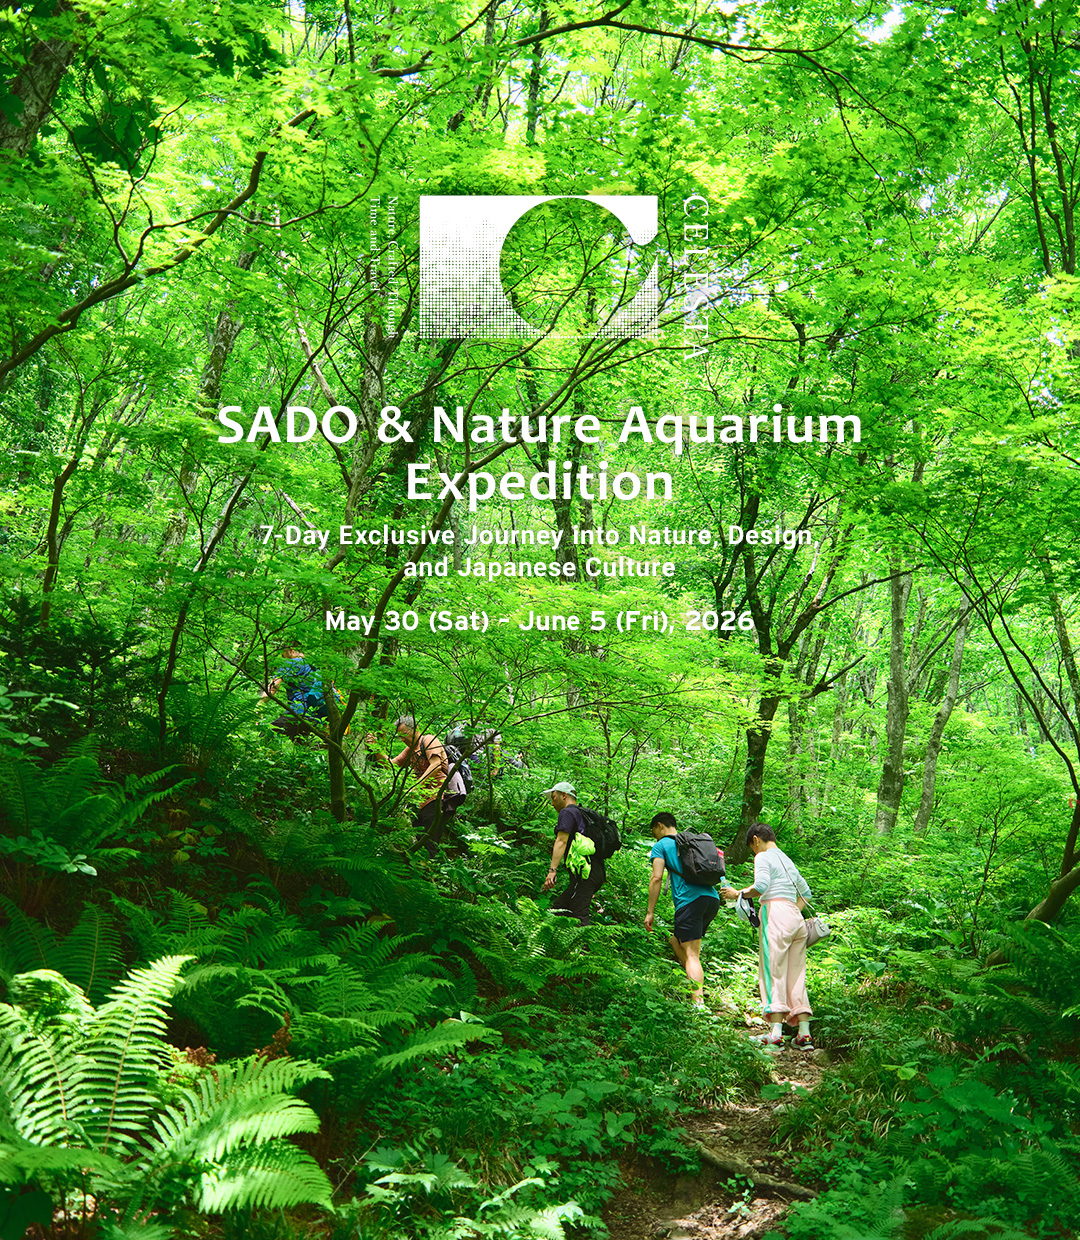

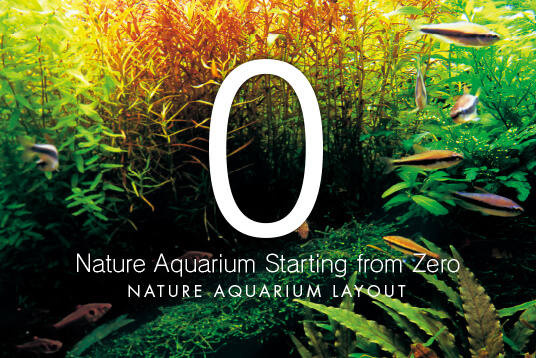


1
Installing Aquarium Tank
Place a 60cm-width Cube Garden
quietly on a Cube Cabinet.

60cm aquarium tank is recommended for
making your very first Nature Aquarium.
Make sure your aquarium is level.
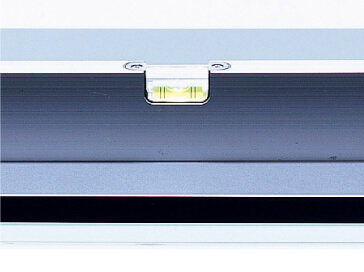
①Check for levelness
Install a Cube Cabinet on an adequately strong and stable floor. Make sure it is level by using a level gauge.

②Place a Garden Mat
Garden Mat is designed to absorb distortion of aquarium cabinet. Be sure to use it for enhanced safety.
Garden Mat
2
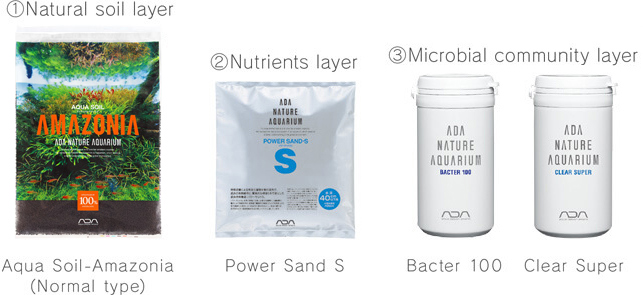
ADA’s Live Substrate System
Substrate is a place where aquatic plants
spread their roots. Create an environment where
plant roots have a symbiotic relationship
with bacteria and microorganisms.
Organic compounds in the substrate are broken down into inorganic compounds, which will eventually be absorbed by aquatic plants through their roots. “Live substrate” means the substrate that is rich in bacteria having a symbiotic relationship with aquatic plant roots.
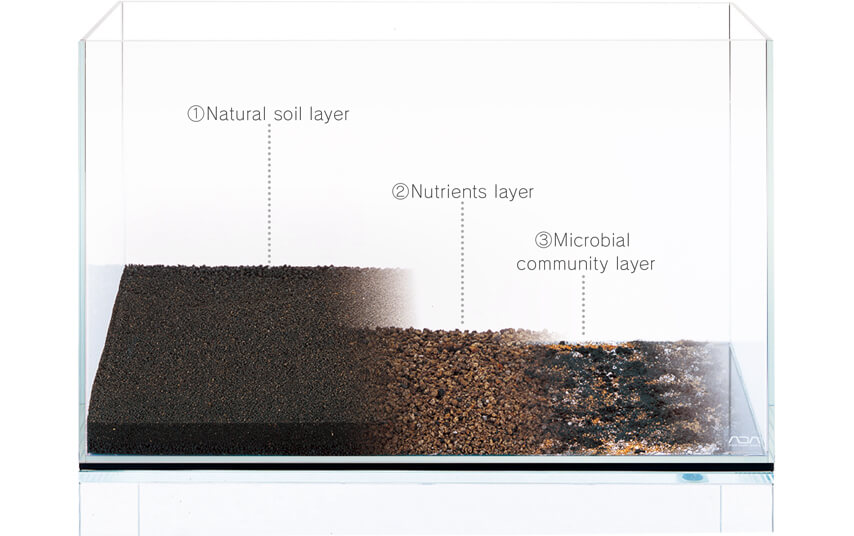

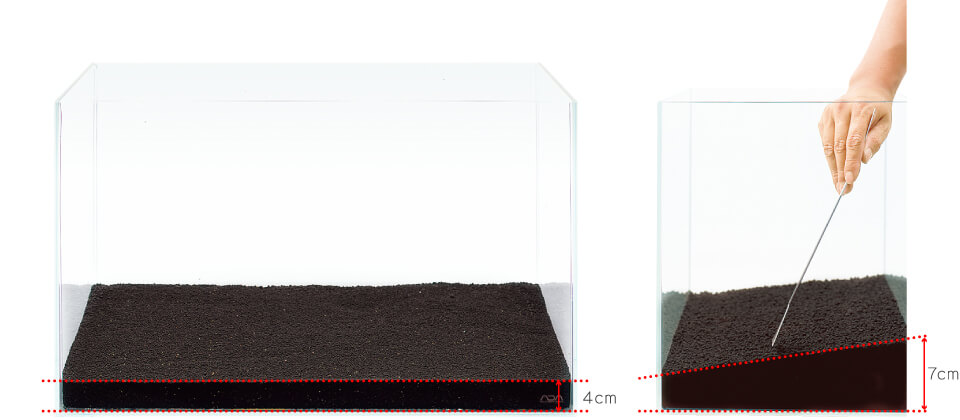
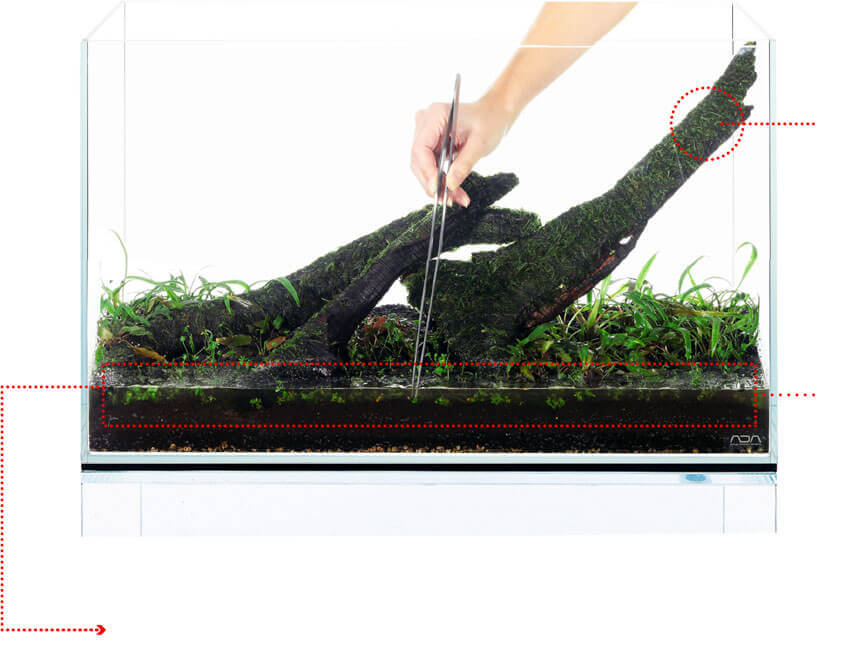
Make a Neat Substrate Line
Make a neat and straight substrate line. Avoid the front side from becoming too thick. Adding a slight slope from front to back gives an additional sense of depth to the layout.
3
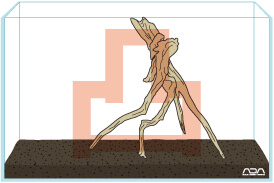
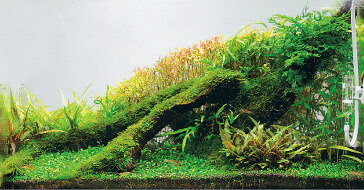
Making the Framework of Layout
Driftwood serves as a framework of the composition.
Place driftwood in a stable condition while
considering a good right/left and front/back balance.
There is no need to arrange driftwood
in a complicated manner.
Making of Nature Aquarium aquascape, which recreates nature within an aquarium, starts with making up the composition. This process is done by placing driftwood and stones to form the overall balance and make the framework of the aquascape. After that, aquatic plants are chosen and planted. Decide your own layout composition and plant the aquatic plants of your choice – Nature Aquarium is to create “your original nature”, which is the only one in the world, in an aquarium.

Three Basic Compositions
There are three basic patterns of composition for Nature Aquarium: triangular, convex and concave. They are easy to make and good for planted aquarium beginners.
Convex Composition
The most difficult of the three basic compositions to achieve good balance. Balance between right and left open space is critical.

Concave Composition
The most popular composition for the planted aquarium. Ensure some open space in the center.

Triangular Composition
Composition with wider open space at either the right or left side. Pay attention to the angle of the driftwood which constitutes the hypotenuse of a triangle.
4
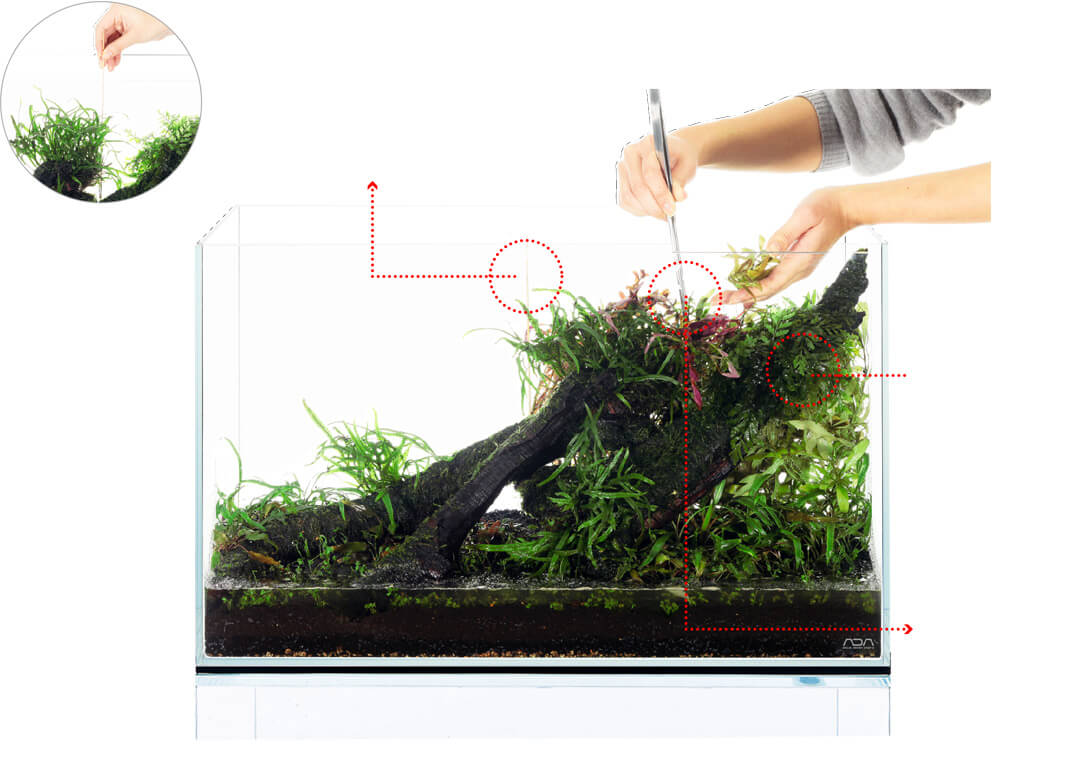
Planting Starts with Foreground Plants
To achieve elaborate planting of aquatic plants,
adequate preparation prior to planting and
the planting technique with Pinsettes are required.
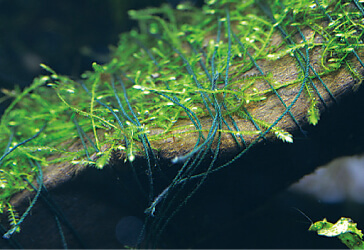
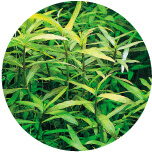
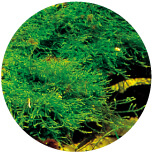
Willow moss
Foreground plants
Planting Made Easy with Shallow Water
Planting work will be easier if the water is poured to the level at which the substrate is barely covered with water. Doing this prevents aquatic plants from being buoyant and hands from getting wet.
Attaching Willow Moss to Driftwood for Enhanced Natural Feel
Willow moss is an essential plant for any aquarium layout that uses driftwood. It is attached to the wood using Moss Cotton. The use of Riccia Line is recommended for attaching less epiphytic plants such as South American moss.
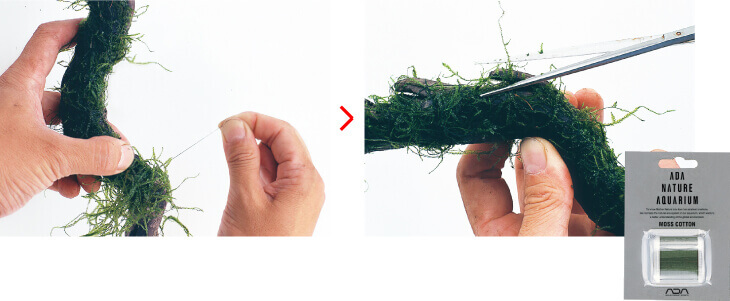
Place a thin layer of willow moss and tie it tightly onto the driftwood using Moss Cotton.
Trim off the protruding willow moss with scissors for a tidy appearance.
Moss Cotton
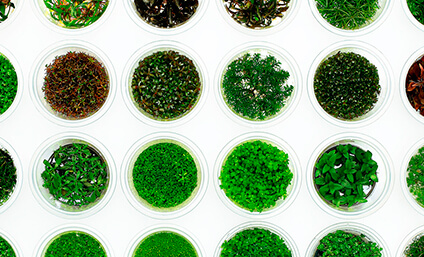
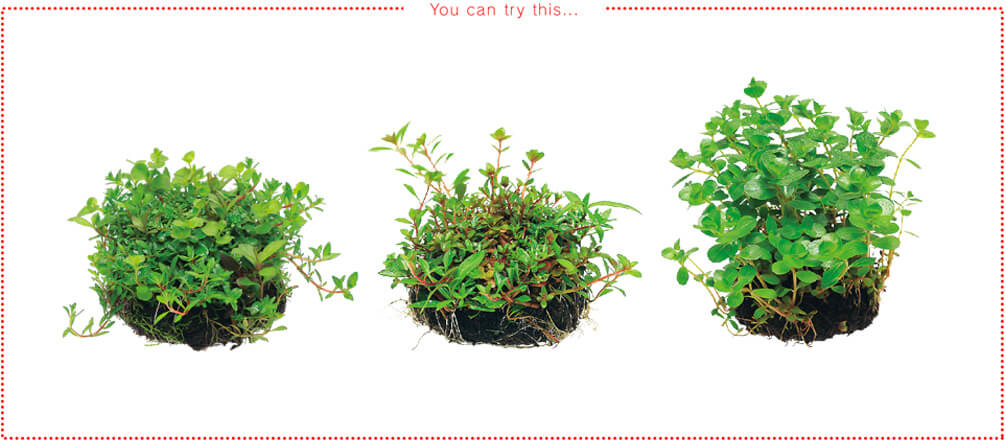
Prepare Foreground Plants
Foreground plants do not require much preparation, but the method of preparation does depend on the species of plant. Choose the foreground plants to be used based on the image and height of each species. Before planting, they should basically be divided into small bunches that are easy to hold with tweezers.
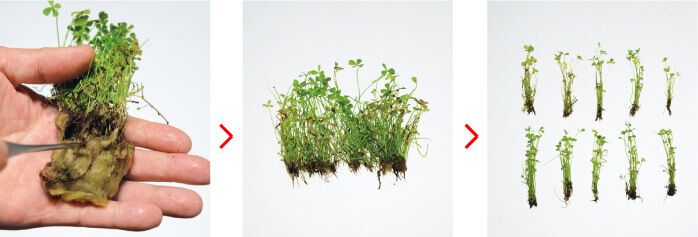
Remove rock wool.
Spread out for convenience in dividing.
Divide into small bunches and arrange in rows.
Basic Planting Method of Aquatic Plants
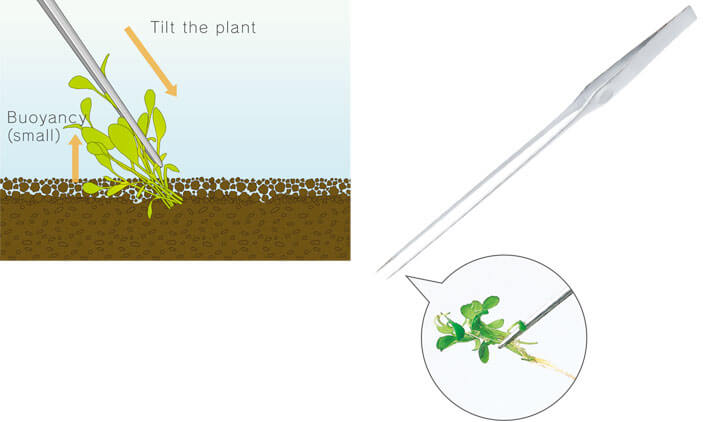
Tilt the aquatic plant against the substrate to plant it. Doing this decreases the buoyancy and the plant will not easily float out of the substrate.
Pinsettes L
Pinsettes L is a must for planting of aquatic plants.
Tips of ADA Pinsettes
ADA’s Pinsettes are designed for professional use. With this high-precision tweezers having the tips that meet perfectly, you can even hold small foreground plants securely.
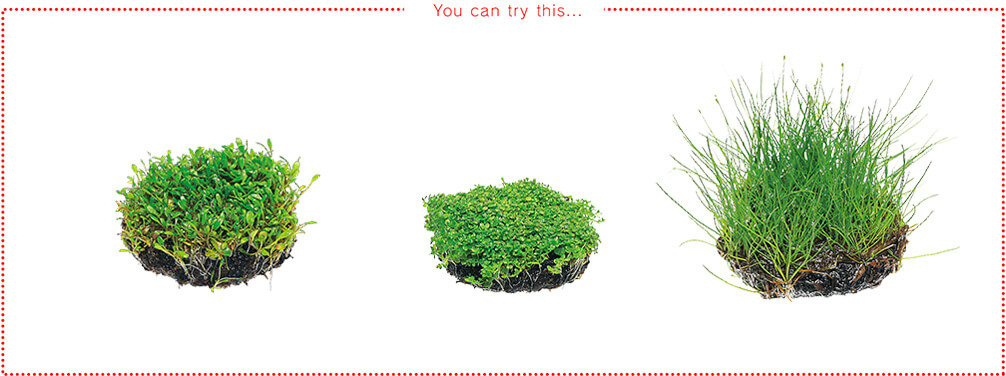
Planted aquarium made easy with Wabi-kusa - Foreground Plants
Wabi-Kusa Glossostigma 5Ø
Wabi-Kusa Hemianthus callitrichoides 5Ø
Wabi-Kusa Eleochalis acicularis 5Ø
5
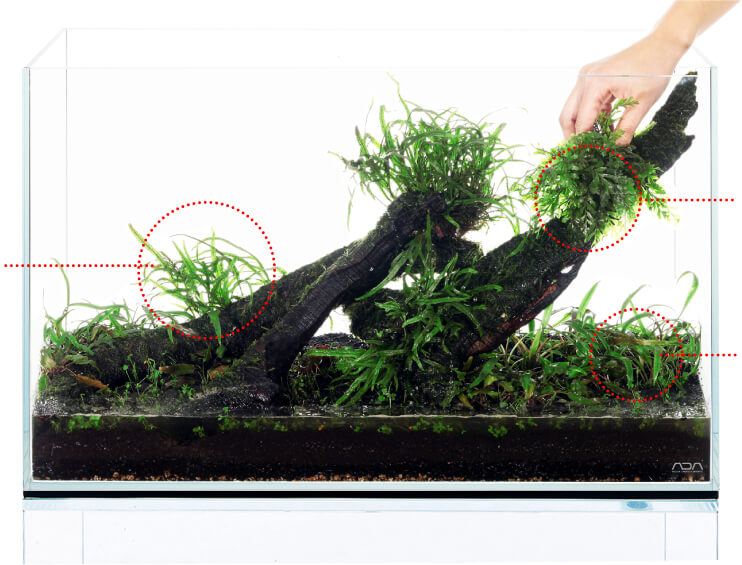
Planting Mid-Ground Plants
A seamless link between foreground & background
plants and concealing of unsightly bottom portion of
stem plants – Consider these for mid-ground planting.
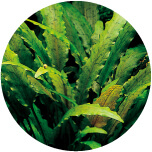
Microsorum sp. (Trident)
Bolbitis heudelotii
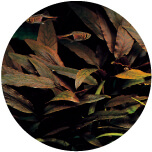
Cryptocoryne albida
Cryptocoryne beckettii var. petchii
Cryptocoryne wendtii
(Brown)
Plant Cryptocoryne species in the mid-ground
Mid-ground of aquarium tends to be in the shade of driftwood and others. Choose shade-loving plants such as Cryptocoryne and epiphytic plants.
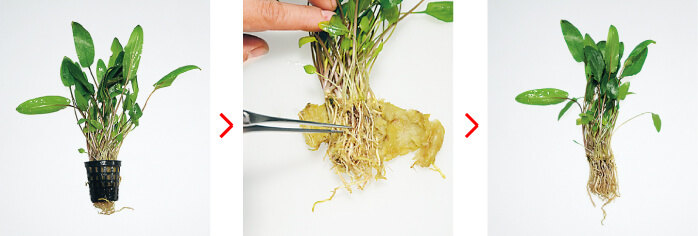
In many cases, roots protruding from the pot indicate a healthy, strong plant.
Carefully remove the rock wool between the roots with Pinsettes S.
The plant may be divided into around two portions depending on the layout.
Attach epiphytic aquatic plants to
driftwood to create attractive mid-ground.
Epiphytic plants include Microsorum, Bolbitis and Anubias species.
To prepare these plants, place the roots around a small stone and secure them
with Wood Tight. Damaged leaves should be cut off from the base of the leaf stem.
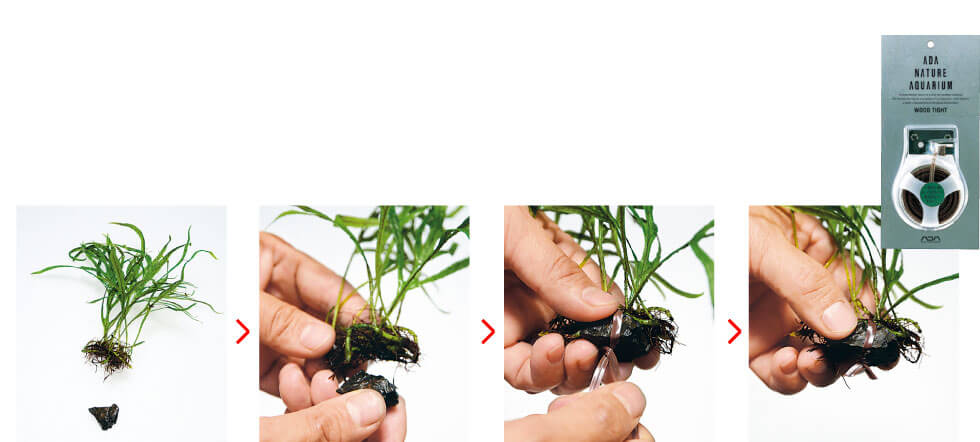
Prepare a stone of such size that it can be hidden under the roots.
Cover the stone with the roots and hold them.
Attach the plant firmly to the stone with Wood Tight.
Twist the Wood Tight to fix and cut off the excessive part.
Wood Tight
6
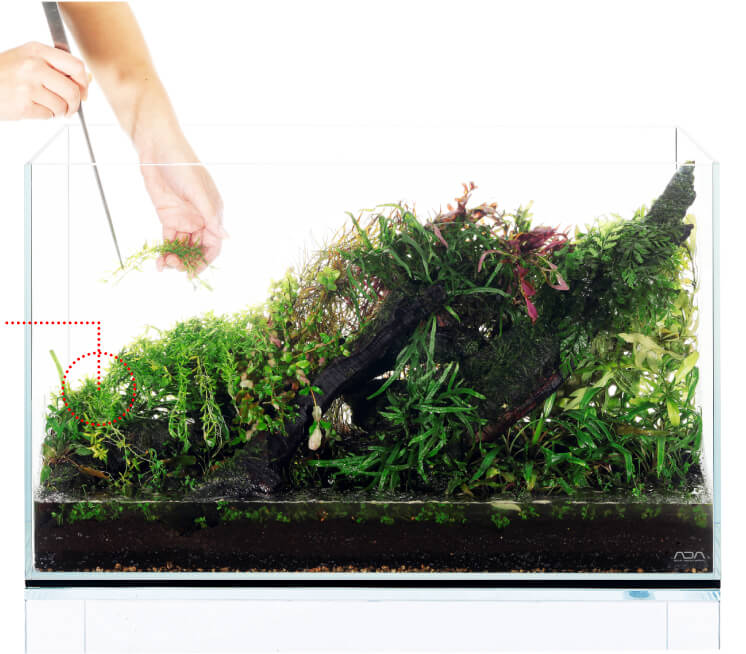
Lastly, Planting the Background Plants
Choose the background plants mainly
from stem plants and tape-like plants. The balance of
leaf shapes and colors is important.
It is recommended to use a bamboo stick to determine the balance in planting for the stem plants in the back ground.
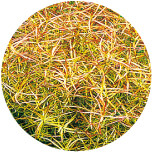
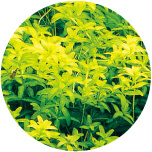
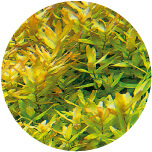
Hygrophila polysperma
Ludwigia arcuata
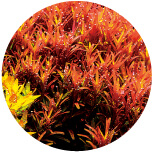
Rotala macrandra (Green)
Rotala indica
Red aquatic plants such as Rotala indica should basically be planted at the focal point of the layout.
Planted aquarium made easy with Wabi-kusa - Stem Plants
Wabi-kusa Stemmed Plants Mix 9Ø
Wabi-kusa Stemmed Plants Mix Red 9Ø
Wabi-kusa Rotala sp. ‘Ceylon’
The height of each stem plant species
should be aligned as much as possible during planting.
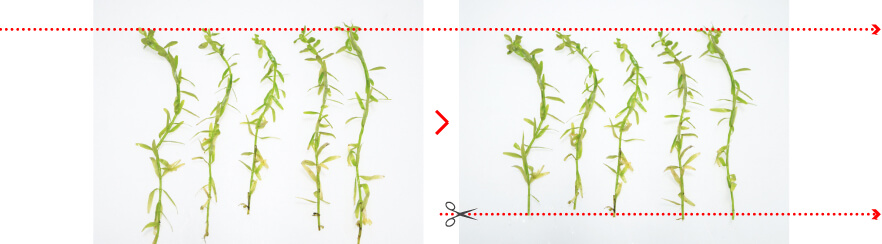
Align the level of terminal bud of each stem plant.
Cut the bottom of the stem to the intended height.
Hemianthus micranthemoideswith
fine narrow leaves should be planted
in a cluster of a few stems.
Hemianthus
micranthemoides
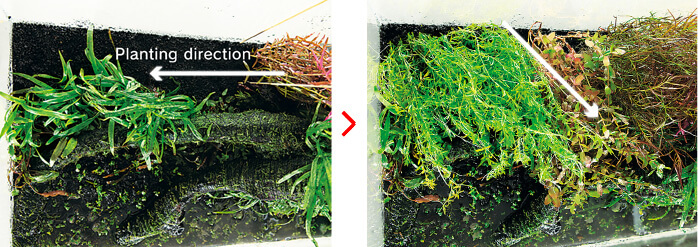
Plant the stem plants while tilting them against the planting direction to achieve a dense and neat finish.
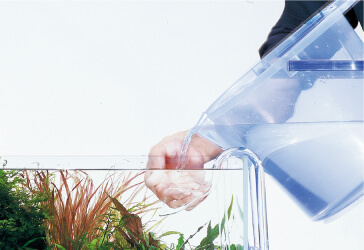
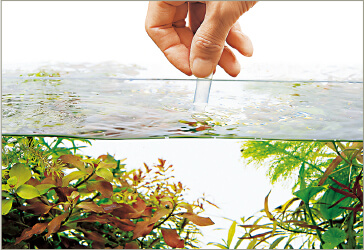
Completion of Planting and Pouring Water
Once the planting is completed, gently pour the water over your hand and then into the aquarium tank. At this time, be careful not to hollow the substrate surface. In the event of cloudy aquarium water, pour fresh water while draining the cloudy water.
Chlor Off
Removes toxic residual chlorine in tap water.
7
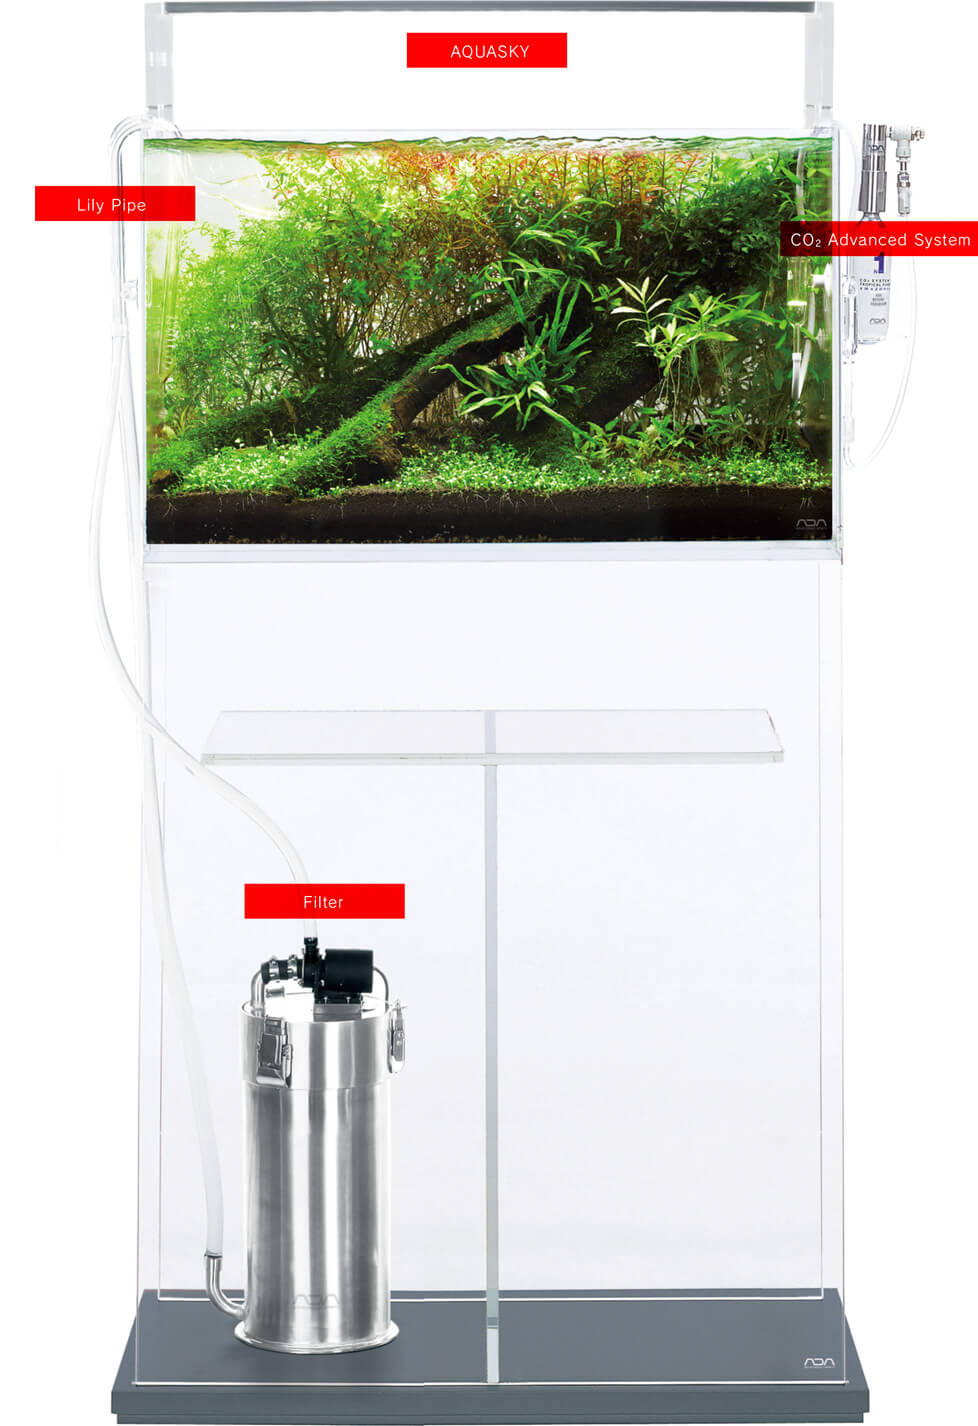
Installation of equipment
Once the equipment such as lighting system,
CO2 system and filter are installed,
the setup of the aquarium is completed.
Install the equipment necessary for growing aquatic plants to complete the aquascape. The Nature Aquarium Goods offer a wide range of equipment that employ all the know-how of ADA.
“Light” and “CO2” are essential for thriving aquatic plants and more natural aquascape.
Aquatic plants grow using photosynthesis. “Light” and “CO2” are essential for plants to perform photosynthesis.
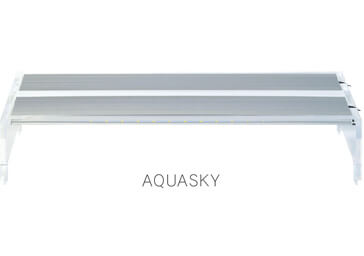
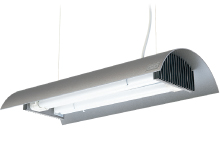
LIGHTING SYSTEM
“Light intensity” and “light quality” are requirements for lighting systems. Aquatic plants will not grow well if the light intensity is insufficient. Quality of light is indicated by underwater light penetration and blue light penetrates further in water. ADA’s lighting systems are excellent in both light intensity and quality. On top of it, they also feature an excellent stylish design.

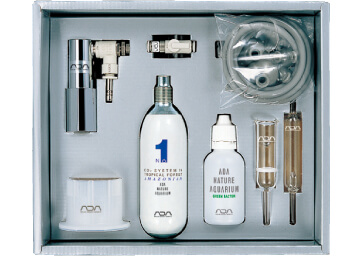
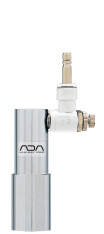
CO2 SYSTEM
Adequate CO2 supply to the aquarium promotes photosynthesis of aquatic plants and leads to a stable environment with abundant oxygen. To ensure more efficient CO2 supply, we need to know how we should do it. The point is the correct supply time and adjustment of CO2 supply amount. CO2 Advanced System is the optimal equipment for CO2 supply.
CO2 SYSTEM
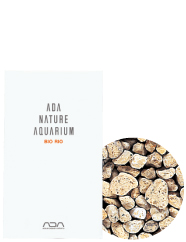
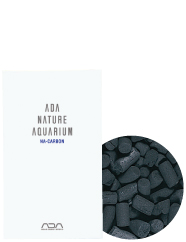
“Filter” system is necessary to keep the aquarium water clean.
Aquarium water gets very dirty if it is left untreated. To keep the aquarium water clean, Nature Aquarium filters the water by three different steps of “physical filtration”, “chemical filtration” and “biological filtration”.
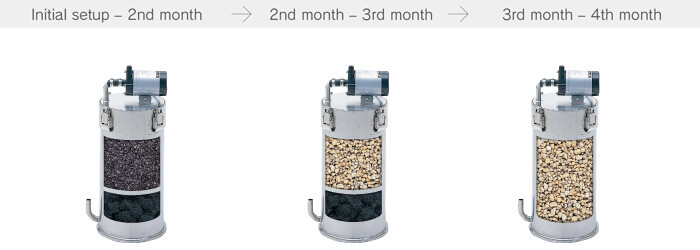
NA Carbon or Anthracite
+
Bio Cube
Physical filtration
Removes contaminants just like straining through a mesh.
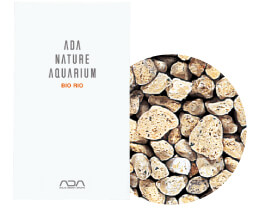
Bio Rio
+
Bio Cube
Chemical filtration
Purifies water by using filter media that absorb visible impurities in water.
Bio Rio
Biological filtration
Purifies water with the help of bacteria in the filter media.
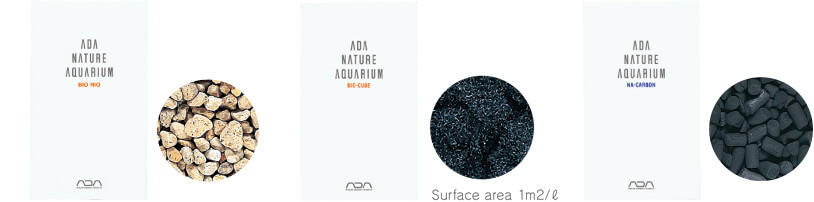
Bio Rio
Bio Cube
NA Carbon

Do not add fish to the aquarium yet.
You would feel like adding fish to the aquarium immediately after the planting is done and the equipment have been installed. However, you should swallow the temptation and wait. One of the failures frequently observed among beginner aquarists is adding fish to a newly setup aquarium and ending up seeing it dead. During the first two to three weeks after the setup when the filter system (biological filtration) is not yet fully functioning, the aquarium water may contain ammonia and other substance which can harm the fish. It is advised to add fish to the aquarium only after the aquatic plants firmly take roots and grow lush and healthy. Conduct a water quality check using Pack Checker to make sure that the environment within the aquarium is good for fish.
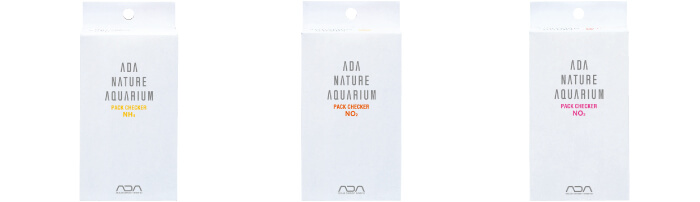
Pack Checker
NH4
Pack Checker
NO2
Pack Checker
NO3
8
Completion of Planting to
Initial Maintenance
Conduct daily water change and take action against
algae for one to two weeks after setup of aquarium.
Ideal to conduct water change everyday
Water purification by beneficial bacteria cannot be expected in a newly setup aquarium. Therefore, it is necessary to change water to keep the aquarium water clean. Daily water change is crucial.
Removal of diatoms
The algae observed in the initial stage of the aquarium are mainly diatoms. They are soft and fluffy and in green or dark brown color. They grow on the surfaces of the aquarium glass walls and aquatic plant leaves. Ensure the early detection of diatoms and get rid of them biologically and manually.
Animals effective for algae removal
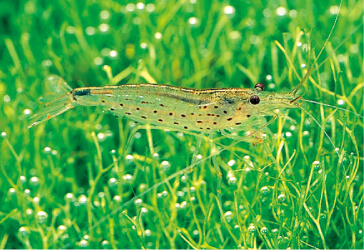
Cardina japonica
It is advisable to add 20-30 Cardina japonica to a 60cm aquarium. Diatoms will quickly disappear.
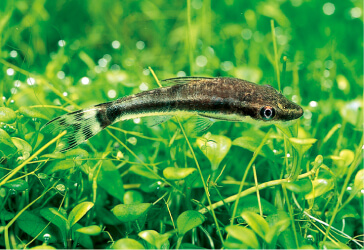
Otocinclus
This fish sucks glass and leaf surface and eat the algae. Add about 3-5 Otocinclus to a 60cm aquarium.
Water change procedures effective for algae removal
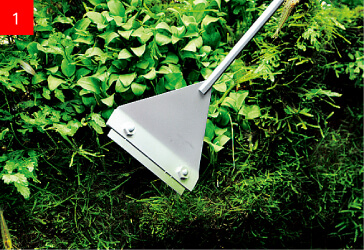
Scraping off of algae with Pro Razor
Firstly, scrape off algae on the glass, driftwood and stones with an appropriate tool.
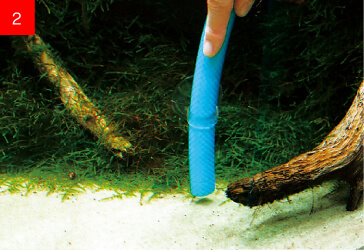
Suctioning out algae and dirt with a hose
Suction out with a hose the removed algae, filamentous green algae and accumulated dirt on the substrate surface.
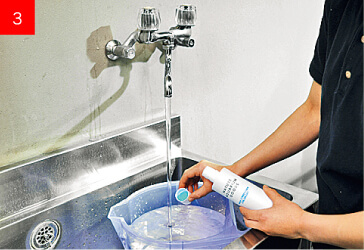
Removing residual chlorine
Remove harmful residual chlorine in tap water by adding Chlor-Off to the water before pouring it into the aquarium.
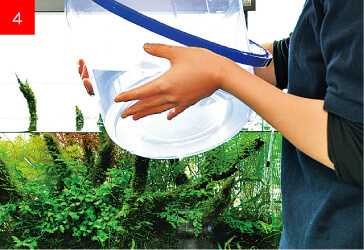
Pouring water into aquarium
Pour the water in the pail gently into the aquarium. Now, the water change process is completed.
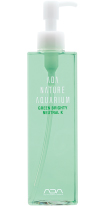
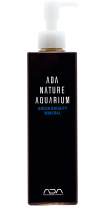
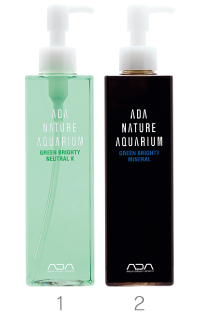
Nutrients necessary in the initial stage of aquarium
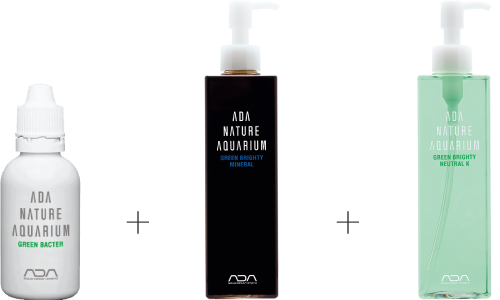
Green Bacter
Food for microorganisms
GREEN BRIGHTY MINERAL
Promotes production of
new leaves
GREEN BRIGHTY NEUTRAL K
Enhances leaf color and
promotes photosynthesis
of aquatic plants
9
Trimming for Completion of
Aquascape
Aquatic plants become denser by trimming.
Repeated trimming is important.
First trimming
1-2 weeks after setup
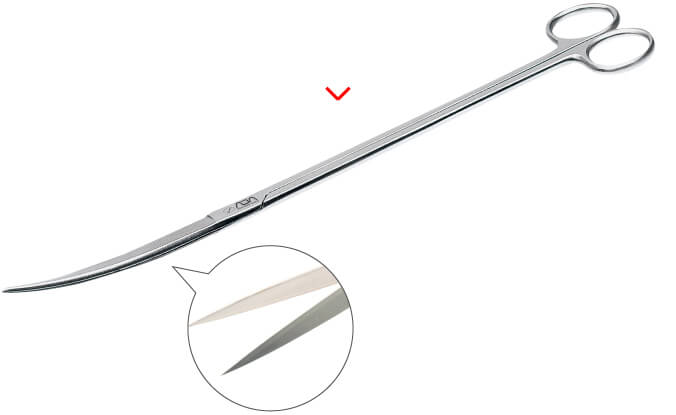
Trimming Scissors
(Curve type)
What makes these scissors special?
The value of scissors is determined by their blade edge. The trimming tool of Nature Aquarium Goods adopts double-layer high-hardness tungsten steel for its blade edge to ensure outstanding sharpness.
Willow moss taking root
Moss Cotton gradually biodegrades when the willow moss starts taking root to the driftwood.

12 drops of Green Gain
Add about 12 drops of Green Gain after trimming. New leaves will start growing in about one week.
About 3-4 weeks after setup
Adjustment of CO2 supply rate
Now that the aquatic plants are growing vigorously and the total volume of plants has increased, the CO2 supply is adjusted to “3 bubbles per second”.
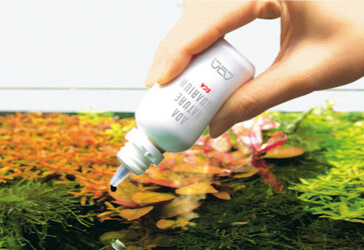
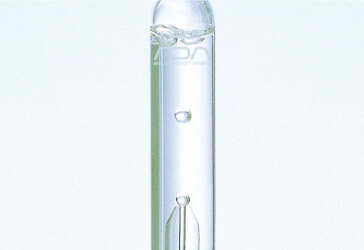
ECA for enhanced red color
The leaf color of aquatic plants can be enhanced by adding iron-rich ECA to the aquarium. It is effective especially for red aquatic plants.
CO2 Bubble
Counter
Pollen Glass
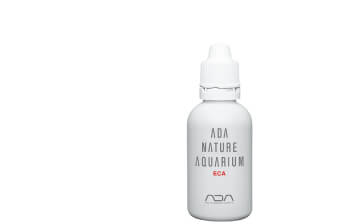
ECA
Repeat trimming to make aquatic plants grow denser.

About 5-7 weeks after setup

Suctioning out filamentous algae
Filamentous algae grow as stem plants become lush. They will multiply rapidly if left untreated. If you find algae in your tank, remove them quickly with a hose and brush.
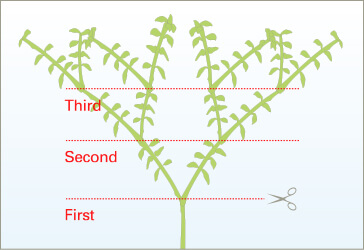
Initial trimming position should be low
Plant density increases by gradually shifting the trimming position higher up the plant. The initial trimming position should be the lower part of the plant.
Second trimming
5 weeks from setup
Third trimming
6 weeks from setup
10
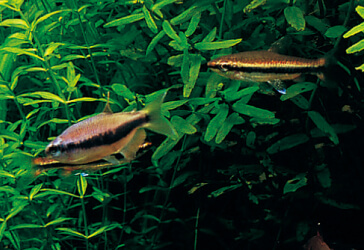
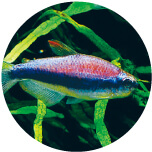
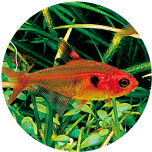
Add Fish, the Main Figure of the
Aquascape, to Aquarium
Once aquatic plants have grown healthily and
water quality has become stable, it is finally
the time to add fish to the aquarium.
Before adding fish, measure the water quality with Pack Checker to be certain. If the Pack Checker does not detect any nitrite, you may add fish to the aquarium. Enjoy thinking what species of fish can match your original aquascape which is only one in the world. It would be a great pleasure to see the fish of your choice perfectly matches the aquascape. However, you should keep in mind that some species of fish cannot be introduced to Nature Aquarium which uses a lot of aquatic plants. Be careful not to add the fish which feed on aquatic plants.

Pack Checker NO2
Water quality check
Closely observe the aquarium condition before adding fish to the aquarium. Ammonia is usually detected in newly setup aquarium and as ammonia declines, nitrite will be detectable. Nitrite is harmful to aquatic life. It is advised to add fish to your aquarium only after you measure the nitrite level with Pack Checker. Make sure that no nitrite is detected in the aquarium water.
Adding fish to an aquarium
Do not simply open the plastic bag and put the fish in the tank together with the water in the bag. It may impose a shock on the fishes. Firstly, put the plastic bag containing the fish in the aquarium water and let it float unopened for about 15-30 minutes to allow the temperatures to adjust. Then, slowly add the aquarium water into the plastic bag to eliminate the difference in water quality. Now, it is ready for the fishes to be added into your aquarium.

AP Glass
For daily feeding
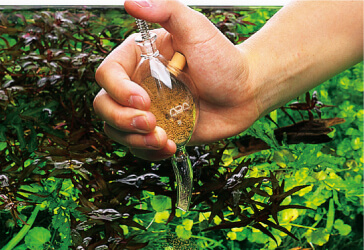
Leftover food caused by overfeeding can deteriorate the aquarium water quality. You should feed the fish with an amount that the fishes can consume in 10-30 seconds.
Fish Food
AP PREMIUM
Fish Food
AP-1
ADA’s Fish Food Series
ADA’s Fish Food series has been developed in pursuit of creating artificial plankton. It contains the nutrients richer than natural plankton and suits the taste of fish.
11
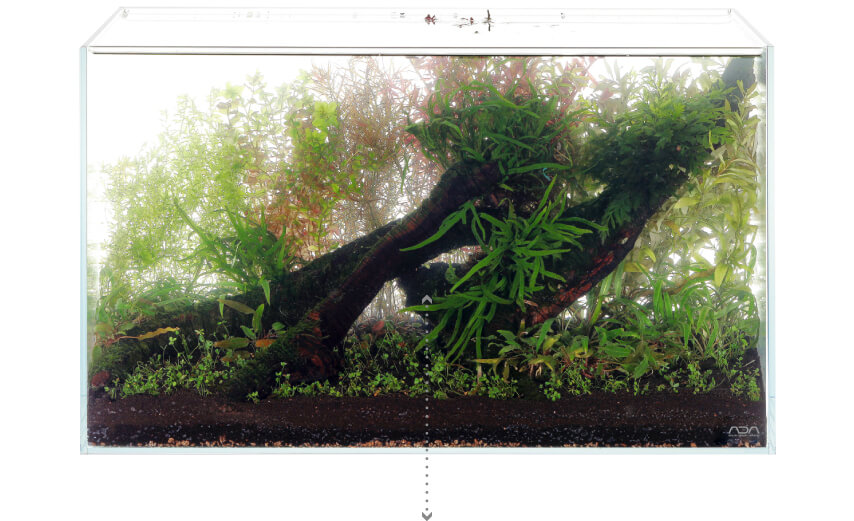
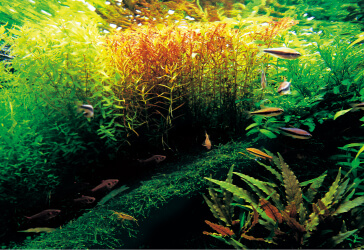
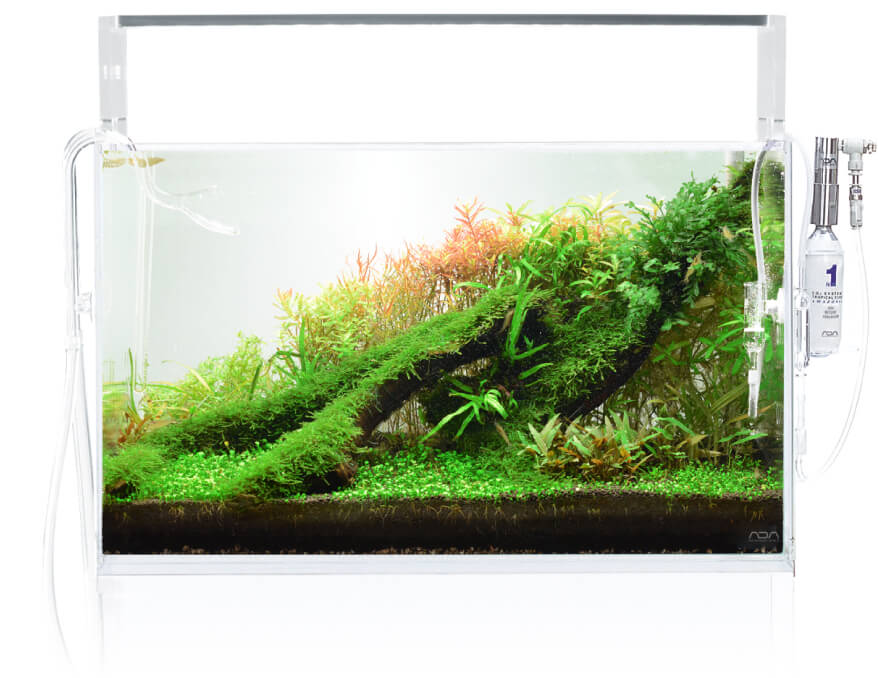
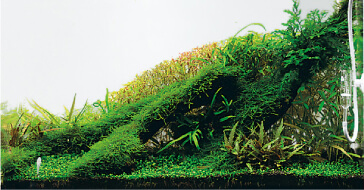
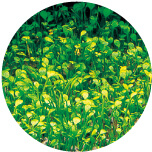
Completed Aquascape
(8 weeks after setup)
A layout based on a triangular composition,
consisting of a driftwood framework with
stem plants in the background
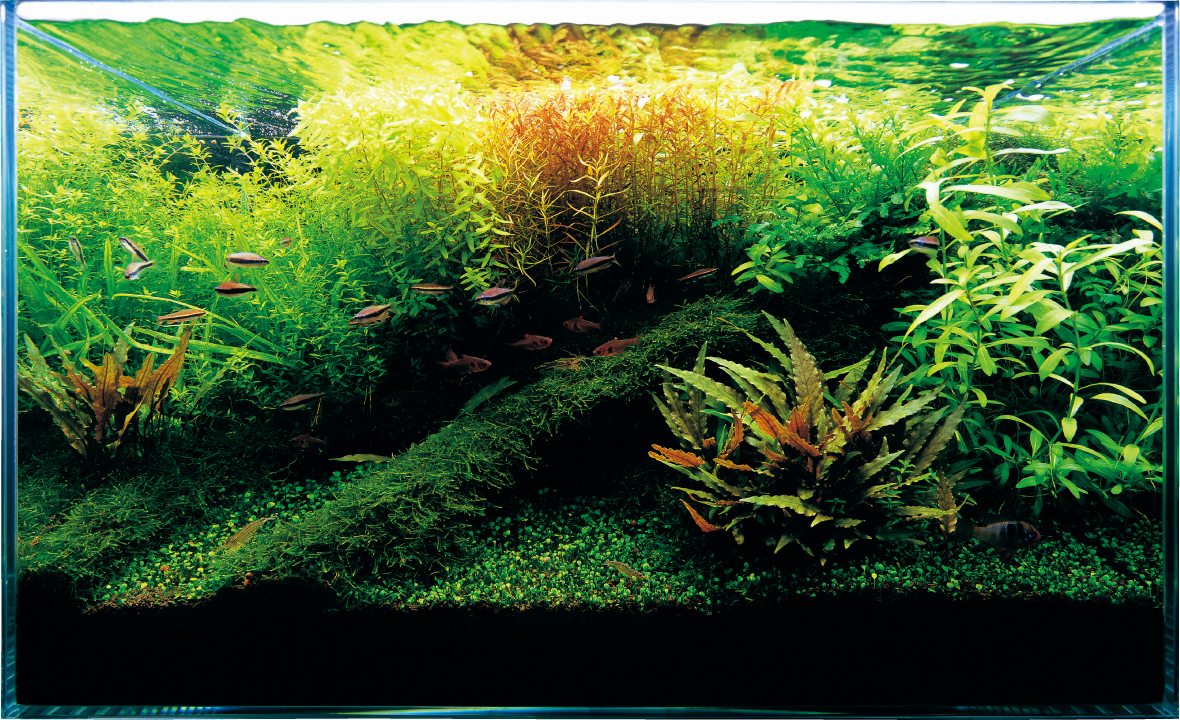
Water change: 1/3 water change once a week
Water quality: Water temperature 25℃ pH:6.8 TH:20mg/L
NATURE AQUARIUM GOODS DATA
AQUARIUM TANK

Cube Garden
W60×D30×H36(cm)
LIGHTING SYSTEM
Solar II
(NA Lamp 36W Twin x 2) Lighting for 10 hours a day
SUBSTRATE SYSTEM
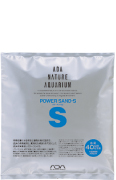
Power Sand S

Aqua Soil-Amazonia
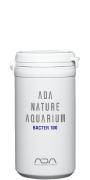
Bacter 100
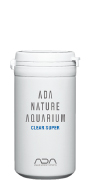
Clear Super
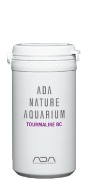
Tourmaline BC
FILTRATION SYSTEM
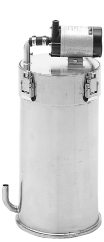
Super Jet Filter
ES-600
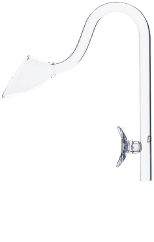
Aeration with Lily Pipe P-2
for 14 hours while
lighting is OFF at night
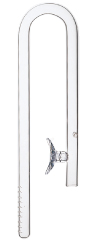
New Lily Pipe
Bio Rio
NA Carbon
CO2 SYSTEM
Pollen Glass
CO2 Bubble Counter
CO2 System
74-YA/Ver.2
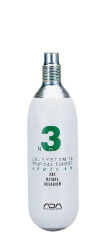
CO2 System
74-Tropical Forest NO.3
LIQUID FERTILIZERS & ADDITIVES
GREEN BRIGHTY NEUTRAL K
GREEN BRIGHTY MINERAL

GREEN BRIGHTY IRON
Green Gain
ECA
AQUATIC PLANTS DATA
Hygrophila
polysperma
Ludwigia
arcuata
Hemianthus micranthemoides
Rotala macrandra
(Green)
Rotala indica

Cryptocoryne
albida
Cryptocoryne beckettii
var. petchii
Cryptocoryne wendtii
(Brown)
Marsilea
angustifolia

Bolbitis heudelotii

Microsorum sp.
(Trident)
Taxiphyllum barbieri
FISH SPECIES DATA
Inpaichthys kerri
Hyphessobrycon
sweglesi
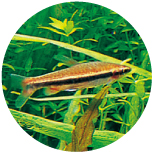
Nannostomus
beckfordi
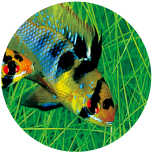
Mikrogeophagus
ramirezi
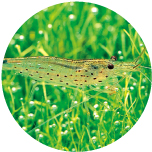
Cardina japonica

Otocinclus
12
Daily Maintenance to Keep
a Beautiful Aquascape
The essence of Nature Aquarium is to maintain
the beautiful aquascape.
Nature aquarium is maintained in a beautiful condition by daily maintenance including water quality adjustment, nutrient supplementation, algae removal and trimming. With the passage of time, the aquascape will have a profound taste beyond human intentions. The ultimate goal we pursue is to create a “Glass no Naka no Daishizen (nature created in the glass)”.
NA Goods Necessary for Maintenance of Aquascape
1.GREEN BRIGHTY NEUTRAL K
2.GREEN BRIGHTY MINERAL
Phase of plant growth (Up to 2 months after initial set-up)
or
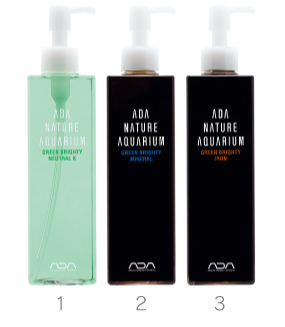
1.GREEN BRIGHTY NEUTRAL K
2.GREEN BRIGHTY MINERAL
3.GREEN BRIGHTY IRON
Maturing phase (2-3months)
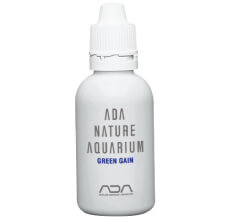
Green Gain
For the post-trimming care of aquatic plants
Bio Rio
Only Bio Rio is used from the 2nd month after setup
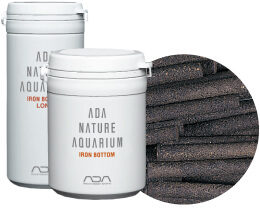
Iron Bottom
Nutrients for aquatic plants
Insert it deep inside the substrate