


HOW TO 2021.02.05
HOW TO ENJOY TERRA BASE “How to create Terra Base layouts”
In this article, we are sharing key points for creating Terra Base layouts.
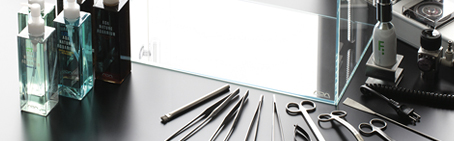
What to prepare
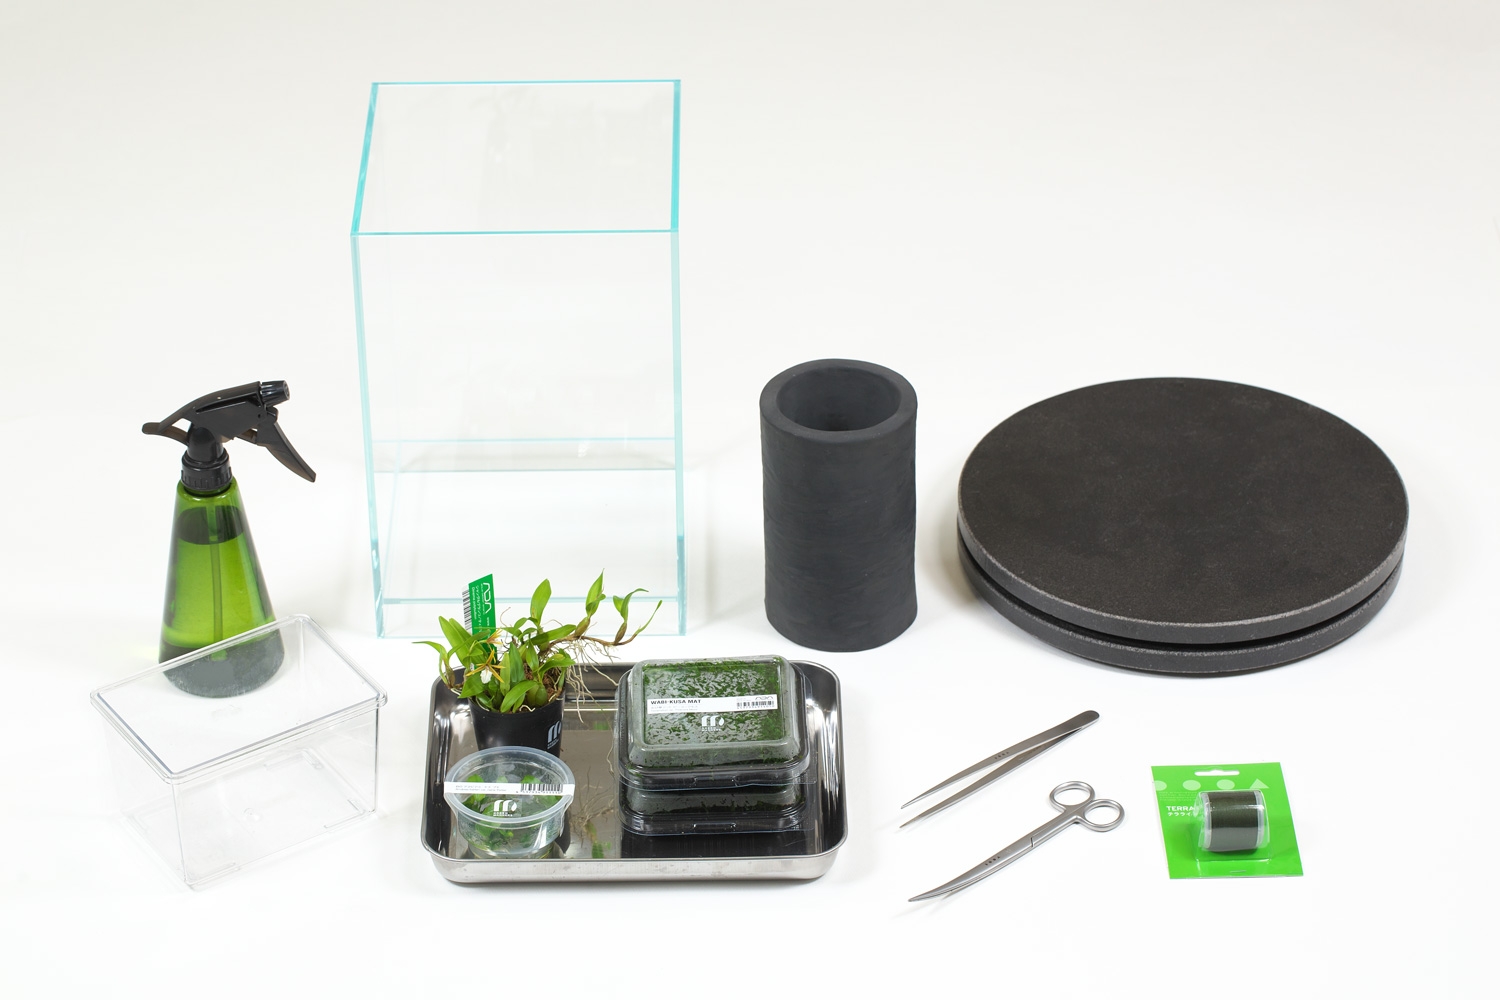
Based on the previous article, prepare things you need for creating a Terra Base layout.
・DOOA Terra Base unit
・DOOA Terra Line
・Wabi-Kusa Mat (appropriate amount)
・Epiphytes
・DOOA Pincette
・DOOA Scissors
Besides above items, plastic container, spray bottle and Lazy Susan turntable come in handy.
Access here for the previous article.
・DOOA Terra Base unit
・DOOA Terra Line
・Wabi-Kusa Mat (appropriate amount)
・Epiphytes
・DOOA Pincette
・DOOA Scissors
Besides above items, plastic container, spray bottle and Lazy Susan turntable come in handy.
Access here for the previous article.
1. Soak Terra Base in water
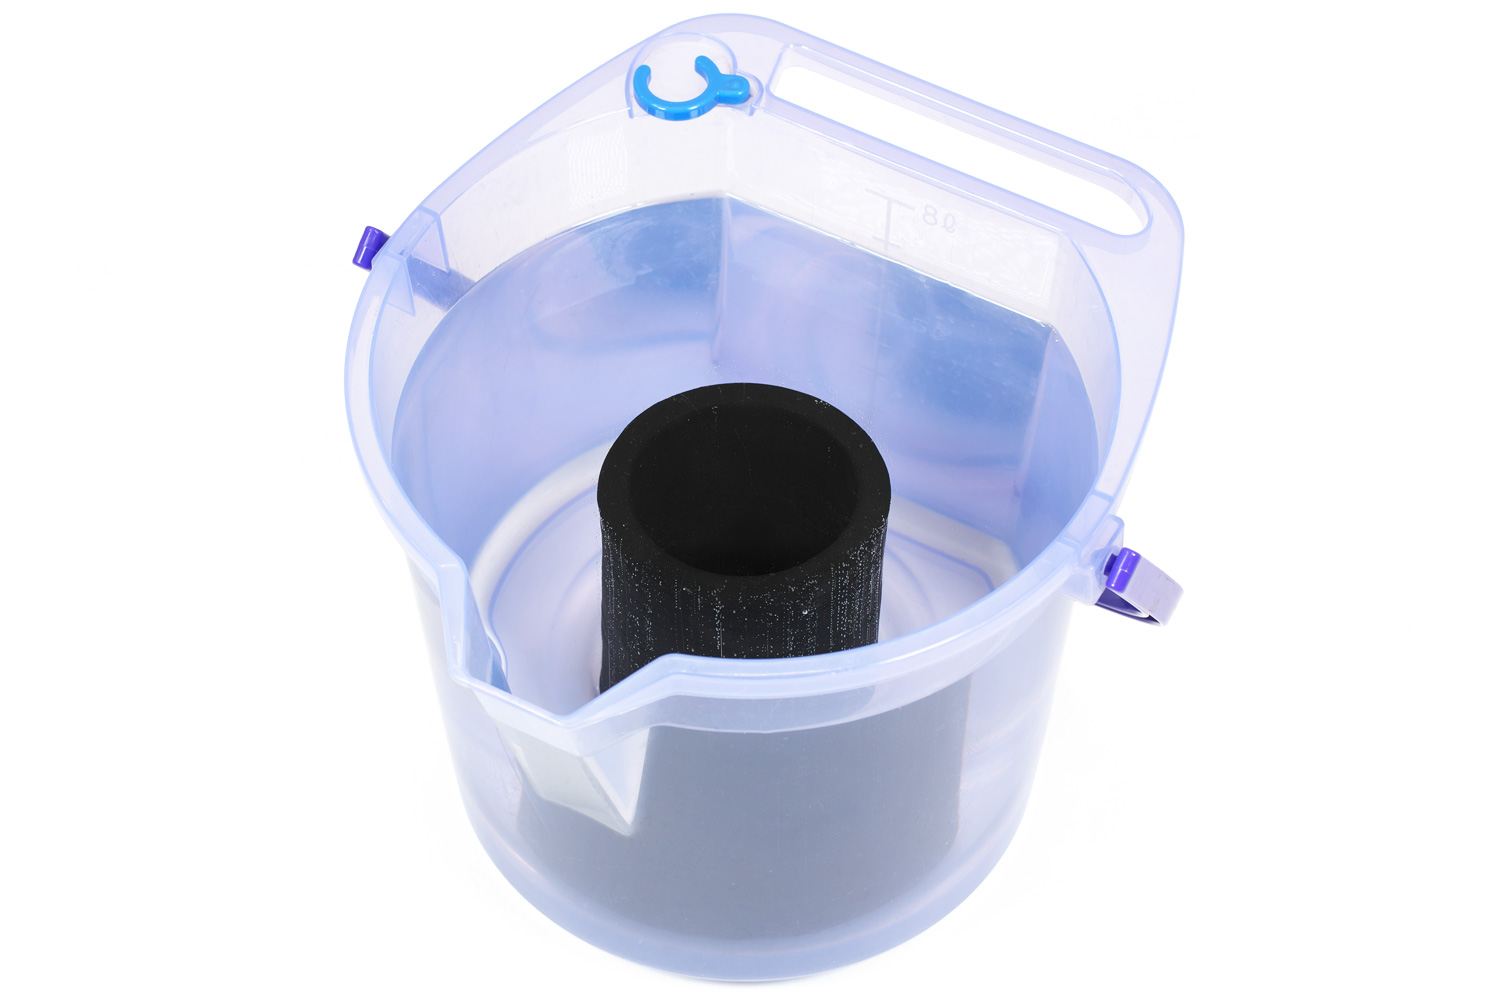
While thinking about moss to be attached to the surface of Terra Base, put Terra Base in a bucket with water 30 minutes before you start creating a Terra Base layout, and let the Terra Base unit absorb sufficient water. When submerged in water, countless air bubbles rise from the surface, proving that it is porous.
2. Imagine a finished look
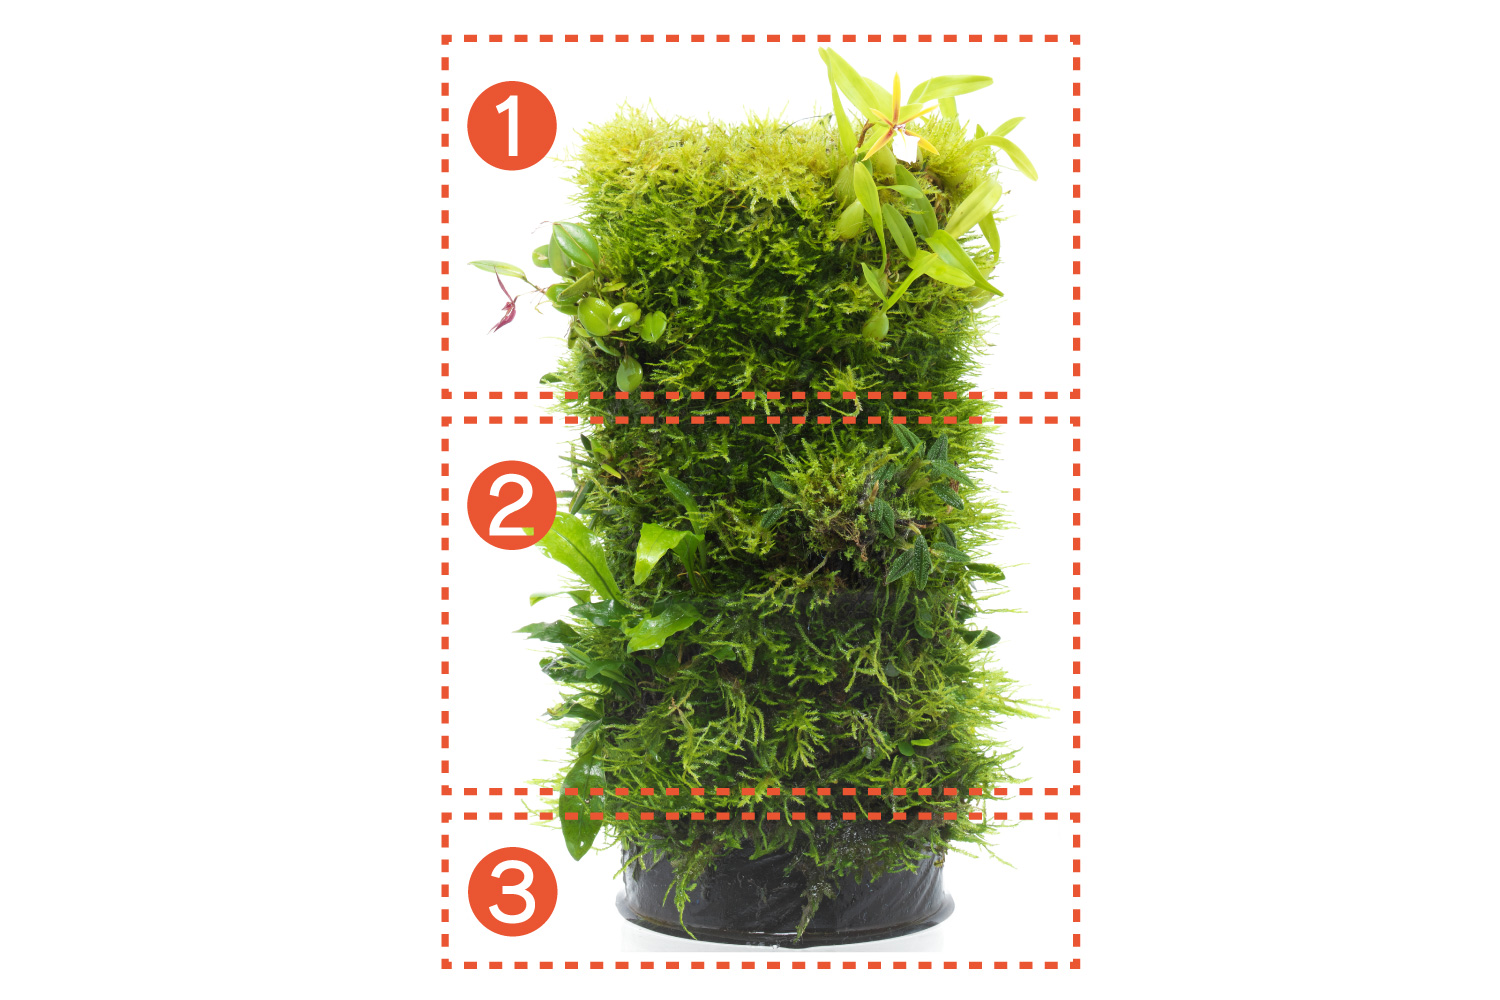
②The lower part is suitable for ferns and Anubias.
③For the lowest part, it will look better without any moss.
Before attaching plants to Terra Base, try to have an image of your final outcome. The moisture condition on the surface of Terra Base is not uniform. For instance, the upper part tends to get dry easily, and the lower part tends to be moist. Therefore, if plants that prefer moisture are placed on the lower part, the healthy growth can be expected more. Because the lower part is always damp, aquatic plants with a rooting ability are also suitable. And even if moss is attached to 1-2cm from the lowest part, it will be soaked in the water that seeps out of the Terra Base unit. Consequently, it will be hard to grow beautifully. Therefore, it is better not to attach anything to this lowest part for easy maintenance.
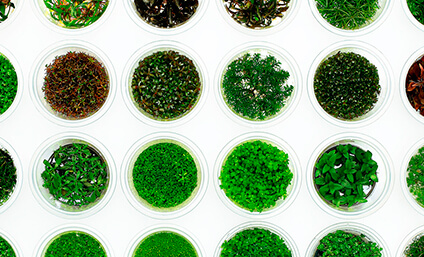
3. Attach moss to Terra Base
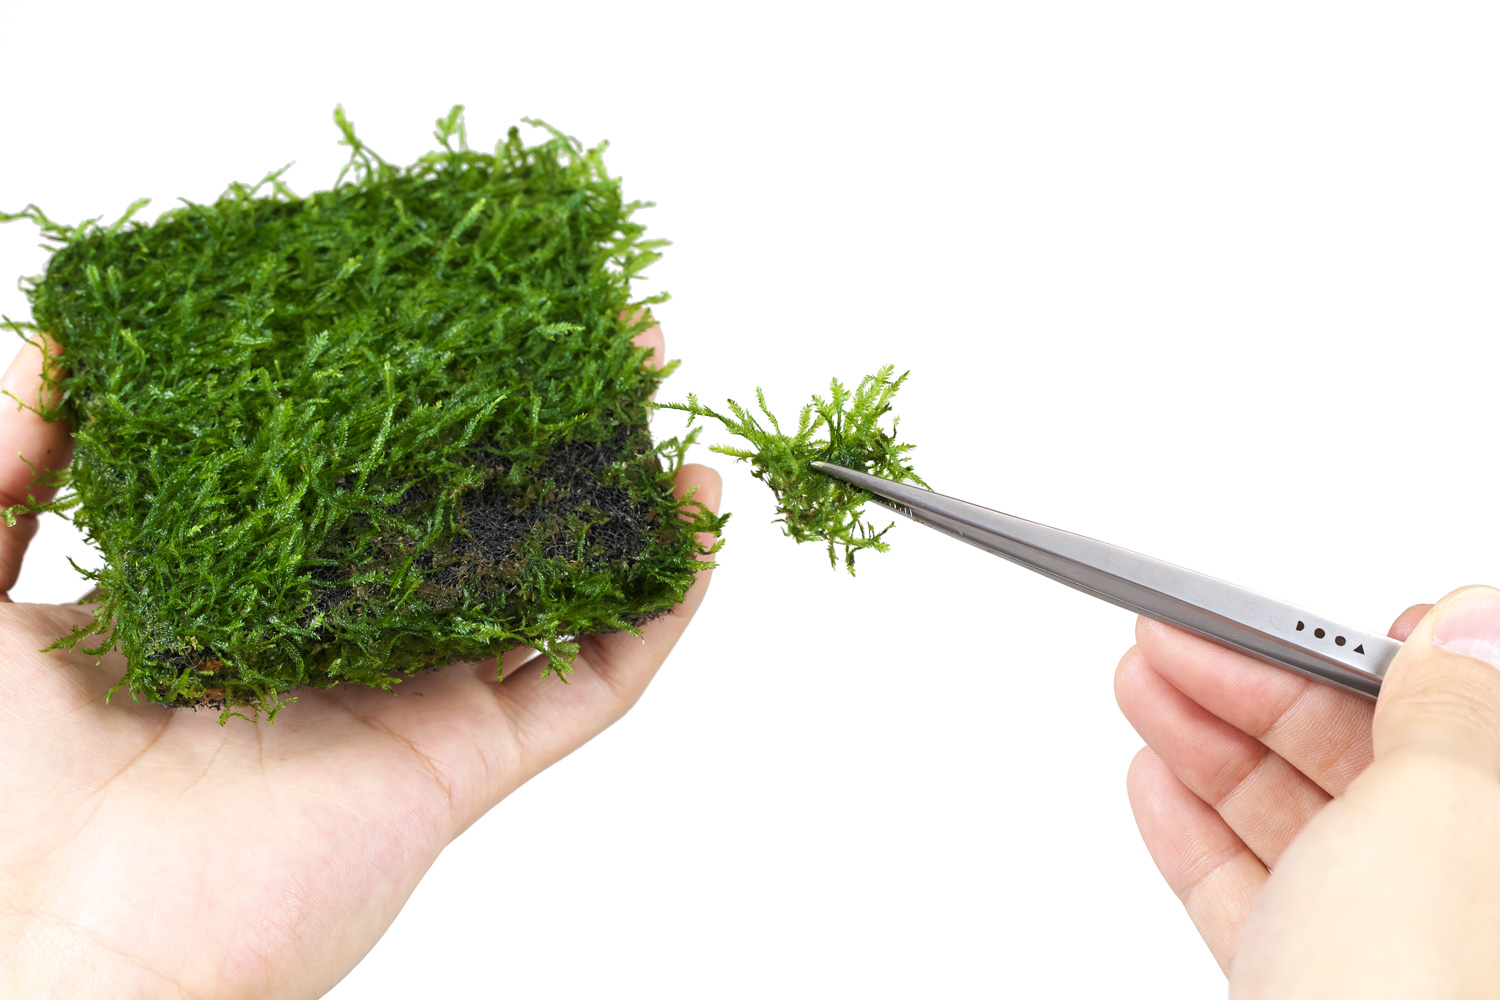
First, affix moss to the top edge of Terra Base.
Moss is growing thinly on the sponge-like base of Wabi-Kusa Mat. Gently remove moss from the surface of Wabi-Kusa Mat with the Pincette laid down. You’ll have to put the moss after being removed on top of the Terra Base. But if you lay a thick layer of moss at this time, moss on the lower part will wither. Therefore, it is better to spread the moss thinly with the Pincette. You should aim to make the moss spread out about double the area.
Moss is growing thinly on the sponge-like base of Wabi-Kusa Mat. Gently remove moss from the surface of Wabi-Kusa Mat with the Pincette laid down. You’ll have to put the moss after being removed on top of the Terra Base. But if you lay a thick layer of moss at this time, moss on the lower part will wither. Therefore, it is better to spread the moss thinly with the Pincette. You should aim to make the moss spread out about double the area.
4. Fix moss
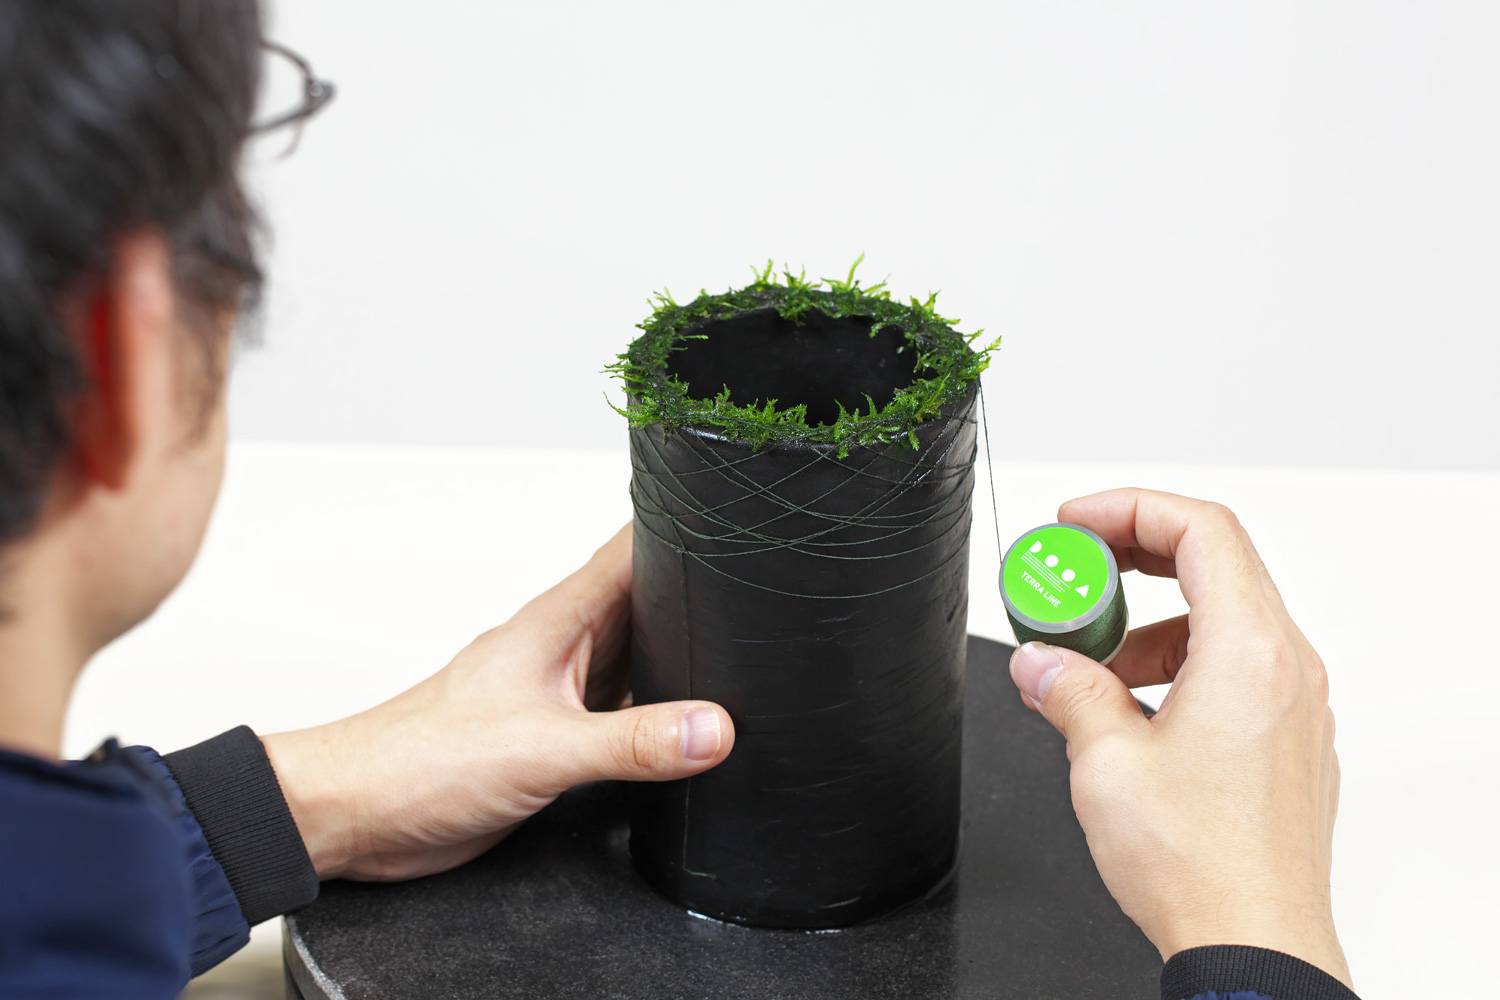
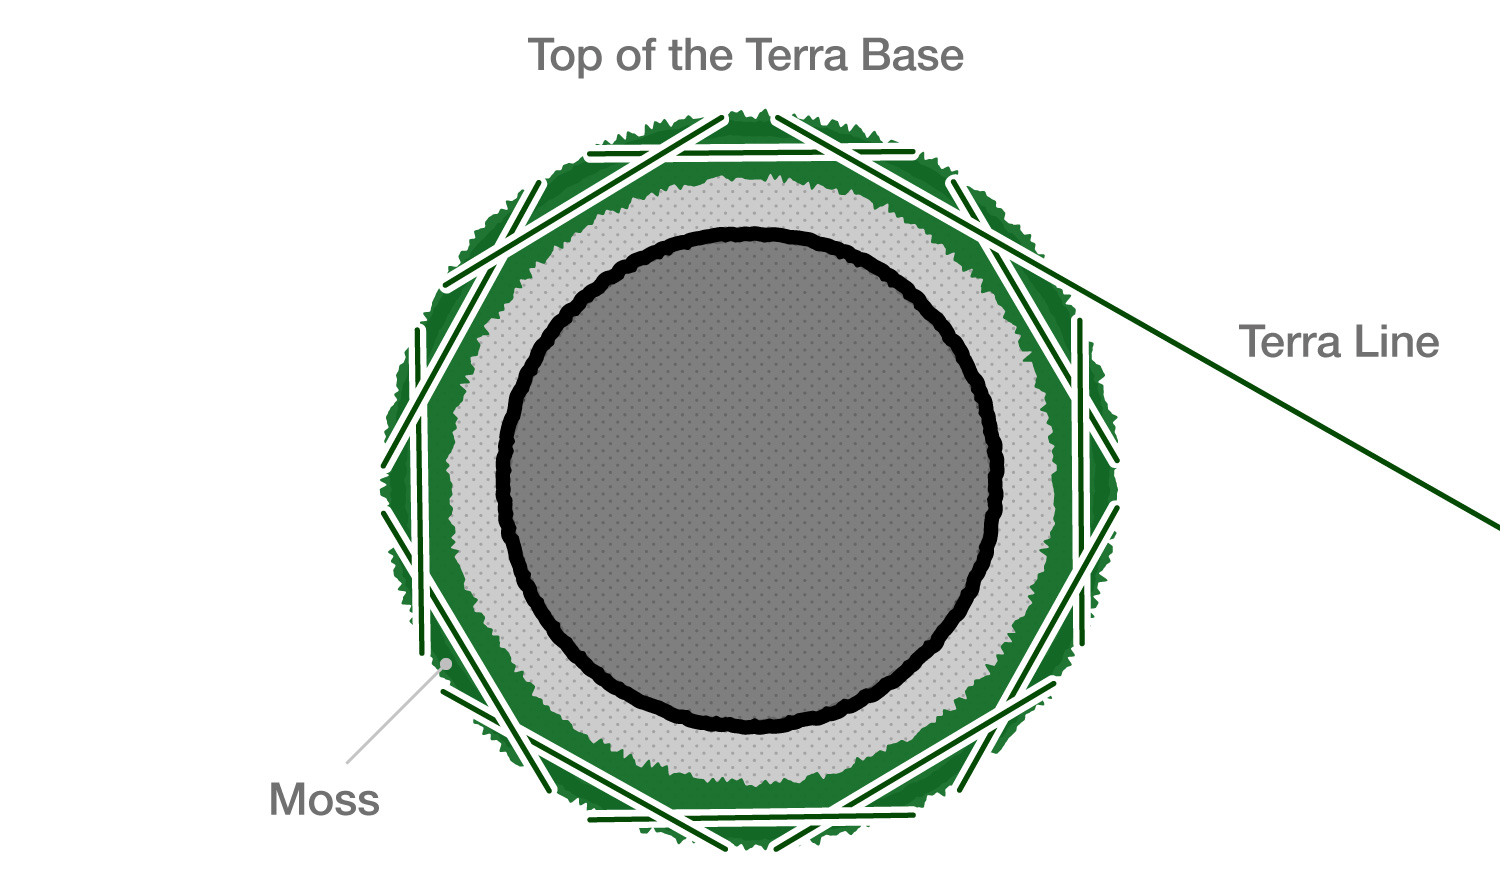
Wrap Terra Line around the Terra Base and tie, then fix the moss on the top.
It is hard to fix moss to the top edge of Terra Base with Terra Line, and you will need a knack for doing it. But it is an important process that affects the final outcome. So try to handle it as carefully as possible.
It is hard to fix moss to the top edge of Terra Base with Terra Line, and you will need a knack for doing it. But it is an important process that affects the final outcome. So try to handle it as carefully as possible.
5. Attach epiphytes to Terra Base
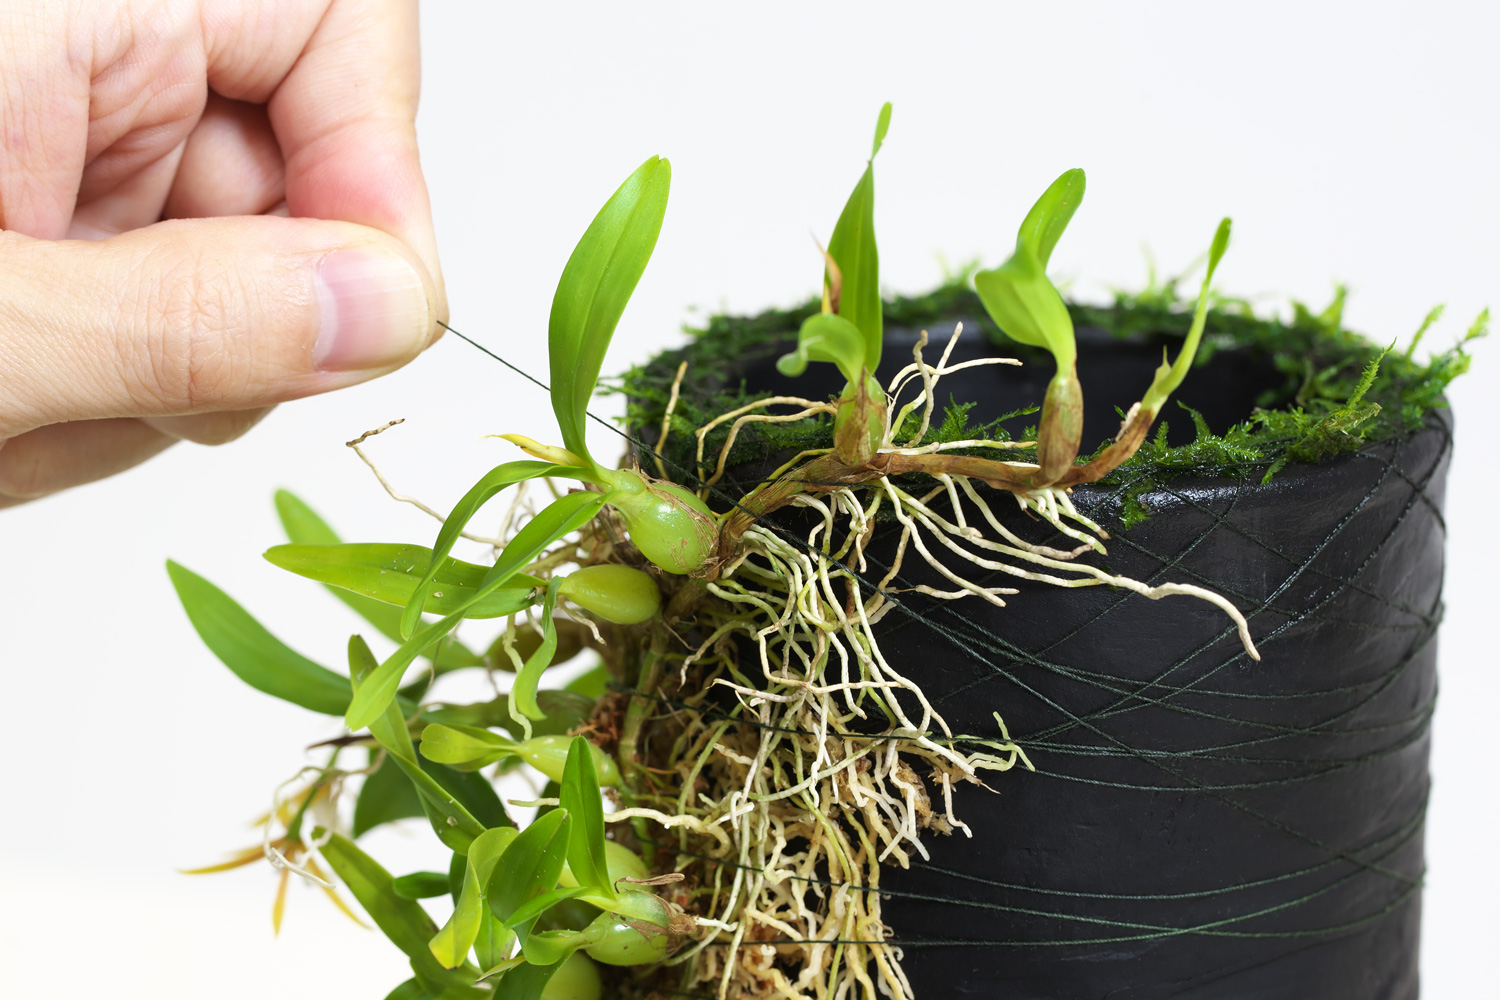
When attaching epiphytes to Terra Base, wind Terra Line carefully as not to press down the leaves and bulbs from top to bottom. For epiphytic orchids with bulbs, try to pass Terra Line through above rhizomes. For Anubias, fix them with Terra Line as if stitching between petioles in the same way. While paying attention to the center of gravity of plants to be attached, wind Terra Line about 3-5 times per plant.
Fundamentally, plants grow upwards while searching for light. Make the buds face upwards to make the plants look more natural.
Fundamentally, plants grow upwards while searching for light. Make the buds face upwards to make the plants look more natural.
6. Affix moss entirely
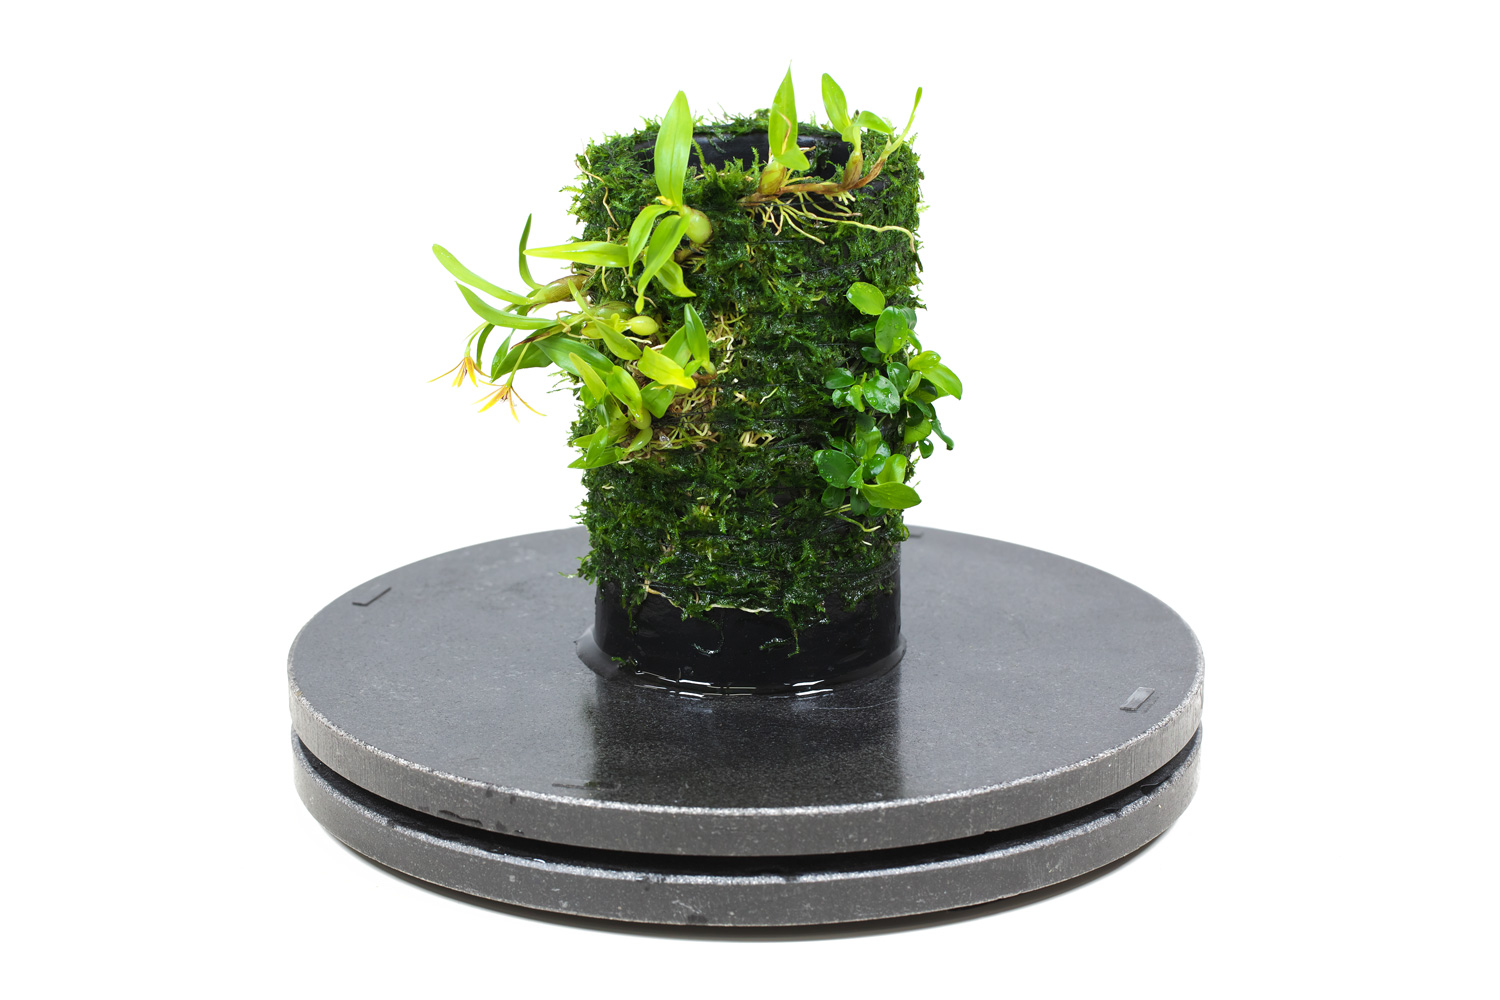
Affix moss to Terra Base from top to bottom in the same way as epiphytes. Moss should be peeled off from Wabi-Kusa Mat, and attached to the vertical surface. So make Terra Base wet sufficiently by spraying water, and attach moss by spreading it out carefully. Although there are many ways to attach moss, the work becomes easier by putting Terra Base on a Lazy Susan turntable, and attaching moss one step at a time with a width of about 2cm, and pressing down the moss with Terra Line at intervals of about 5mm while turning the Lazy Susan at the same time.
When you finish attaching the moss up to the lower part, tie the Terra Line to Terra Base, and it’s all done.
When you finish attaching the moss up to the lower part, tie the Terra Line to Terra Base, and it’s all done.
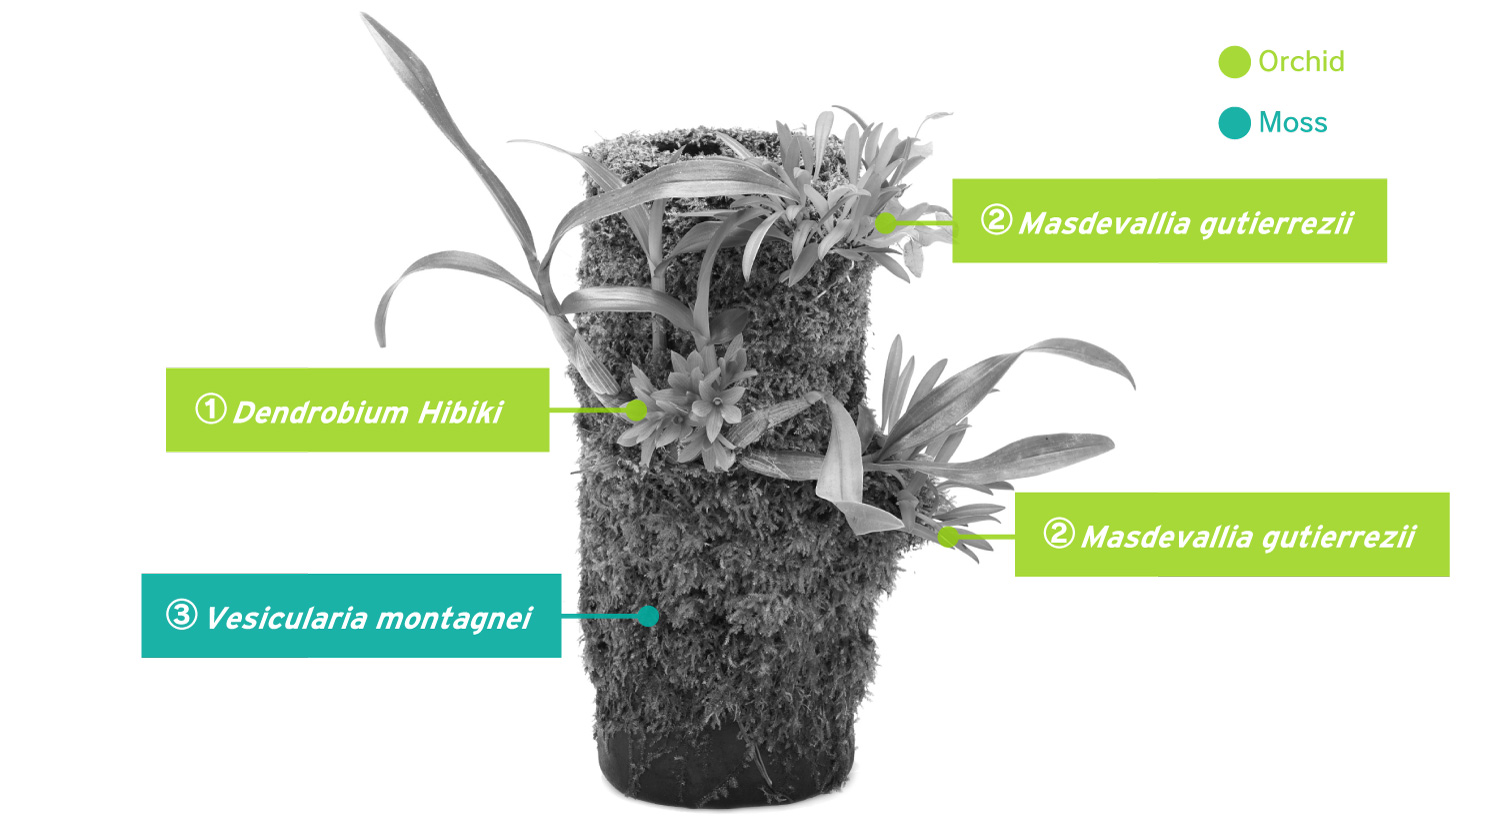
This Week’s TERRA BASE
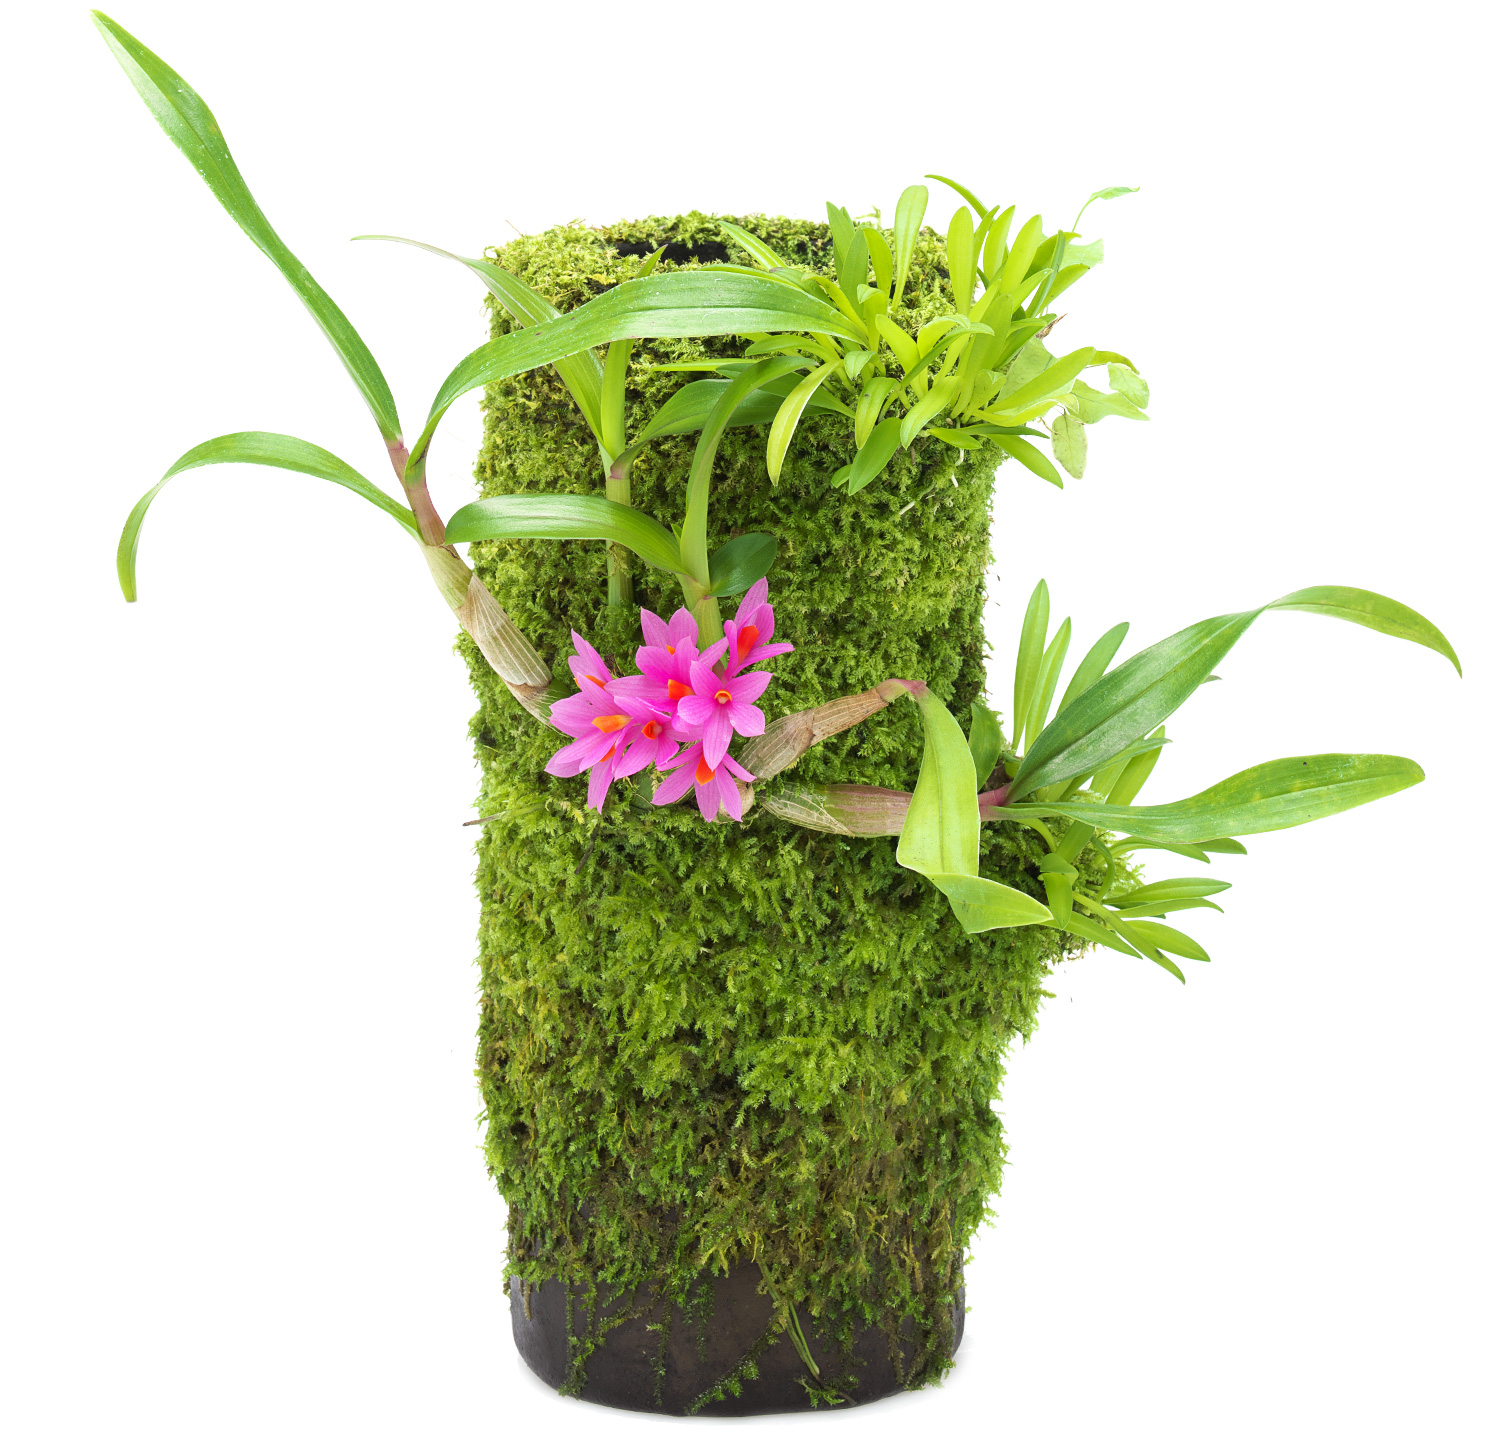
【DATA】
TERRABASE M
【Plant】
①Dendrobium Hibiki
②Masdevallia gutierrezii
③Vesicularia montagnei
TERRABASE M
【Plant】
①Dendrobium Hibiki
②Masdevallia gutierrezii
③Vesicularia montagnei
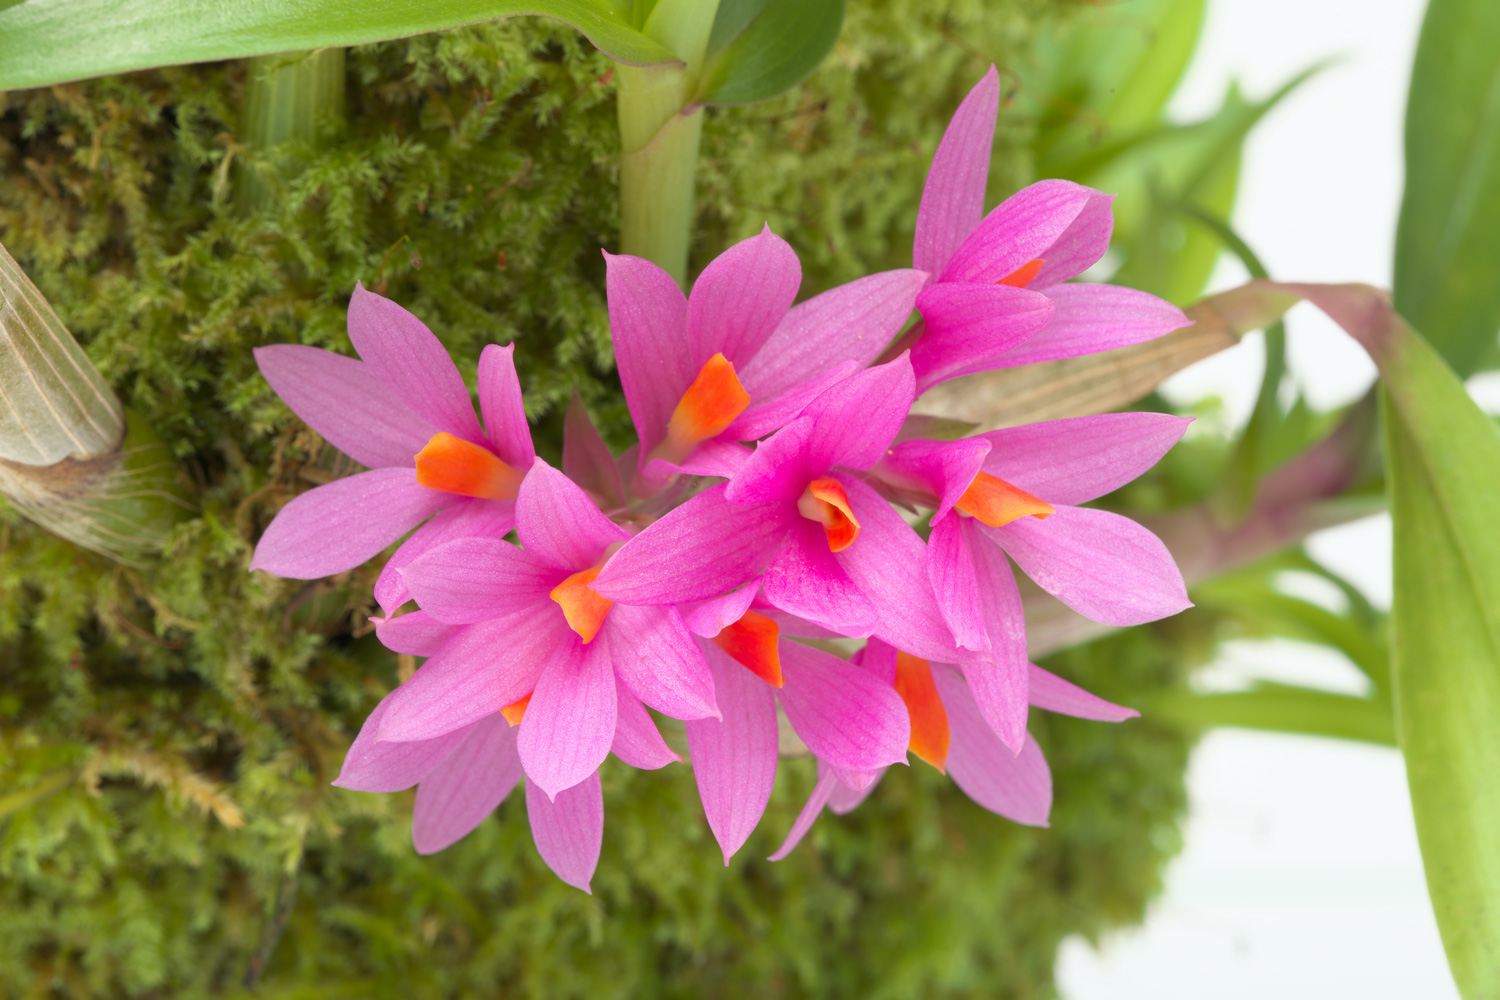
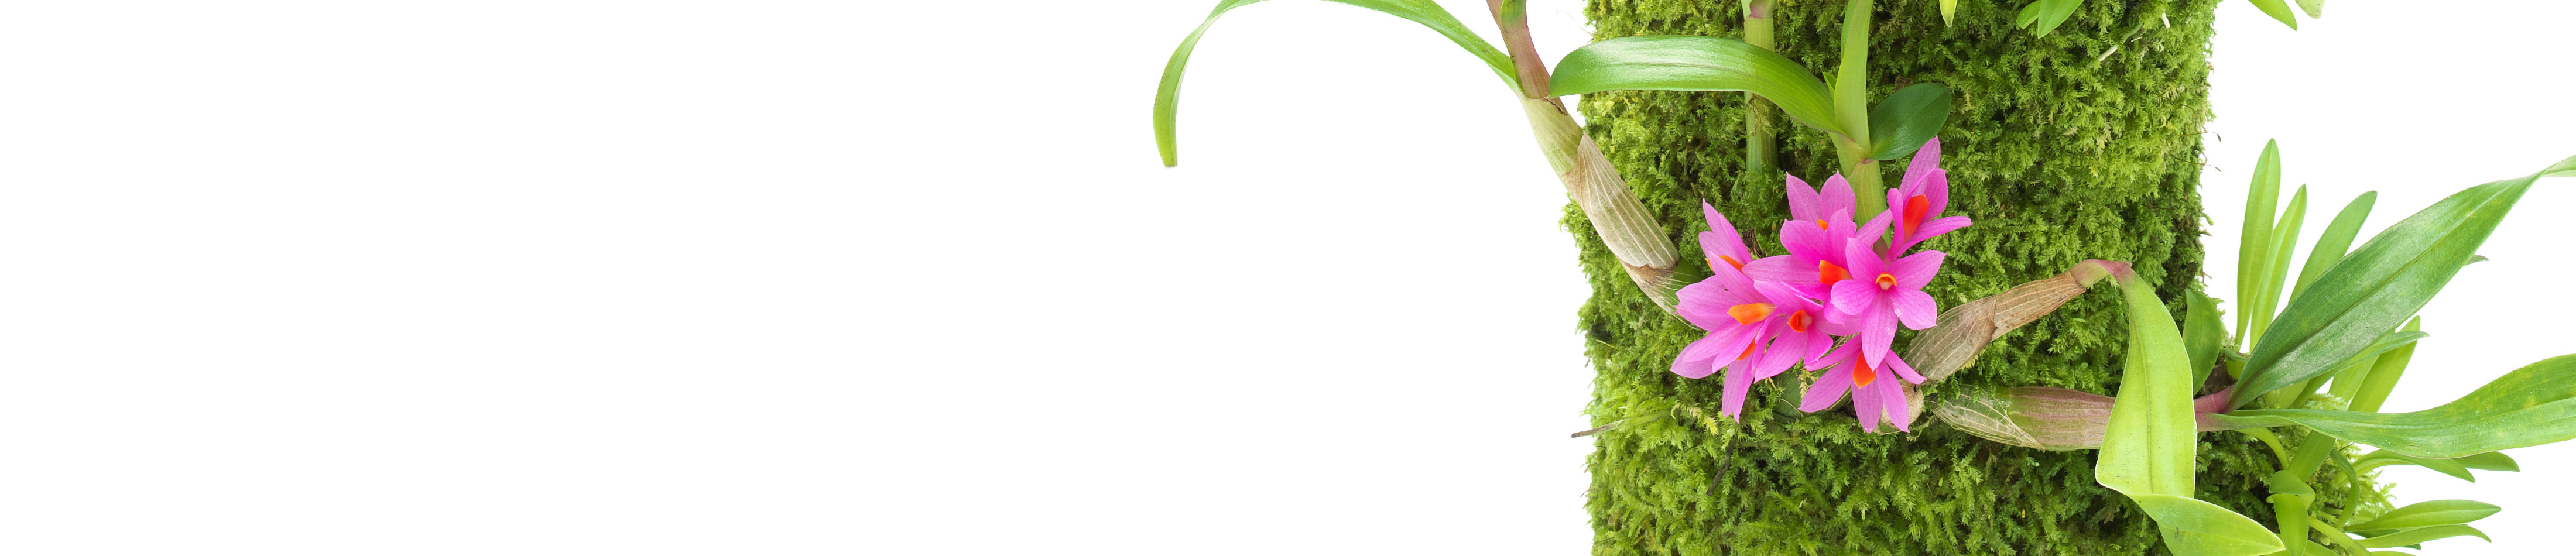
According to my knowledge, Dendrobium should be slightly dry, that recognition was wrong in a good way for this layout. This Dendorobium Hibiki had amused us with the bright pink flowers for 3 months in the moist environment while coexisting with moss.
The plant that you see on 2 spots of the right side is Masdevallia gutierrezii which is also available in the ADA Jungle Plant series. It is attached to the Terra Base as having the roots wrapped with Sphagnum moss.
Because healthy white roots are visible through the moss, the healthy growth is obvious.
Although there were just 2 buds, the flowers were observed.
Because healthy white roots are visible through the moss, the healthy growth is obvious.
Although there were just 2 buds, the flowers were observed.
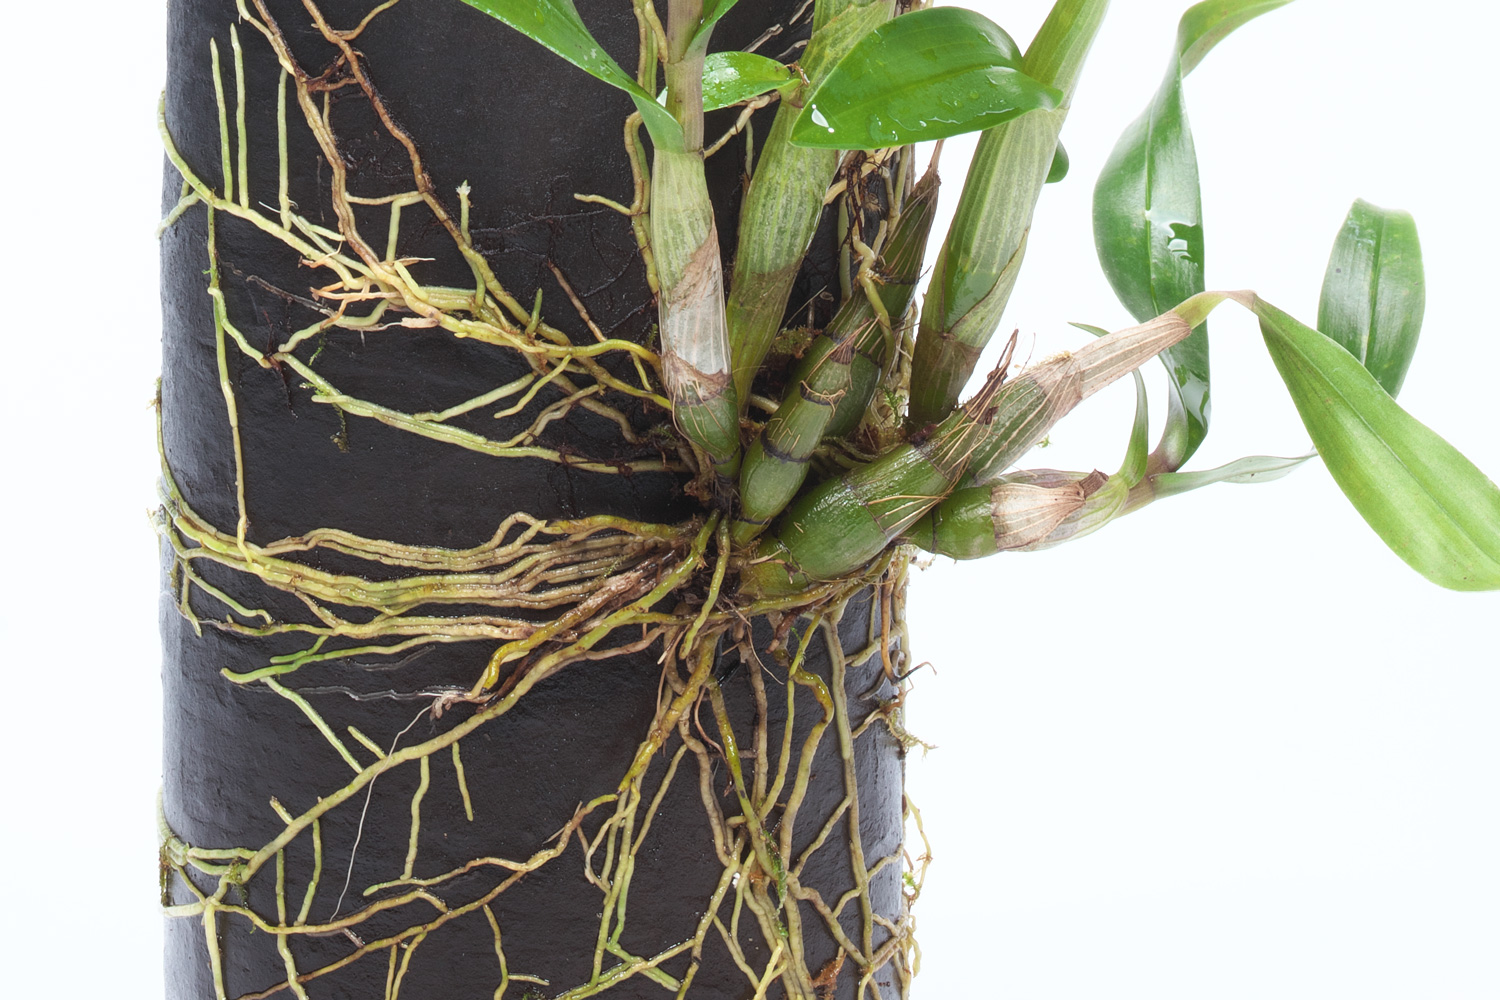
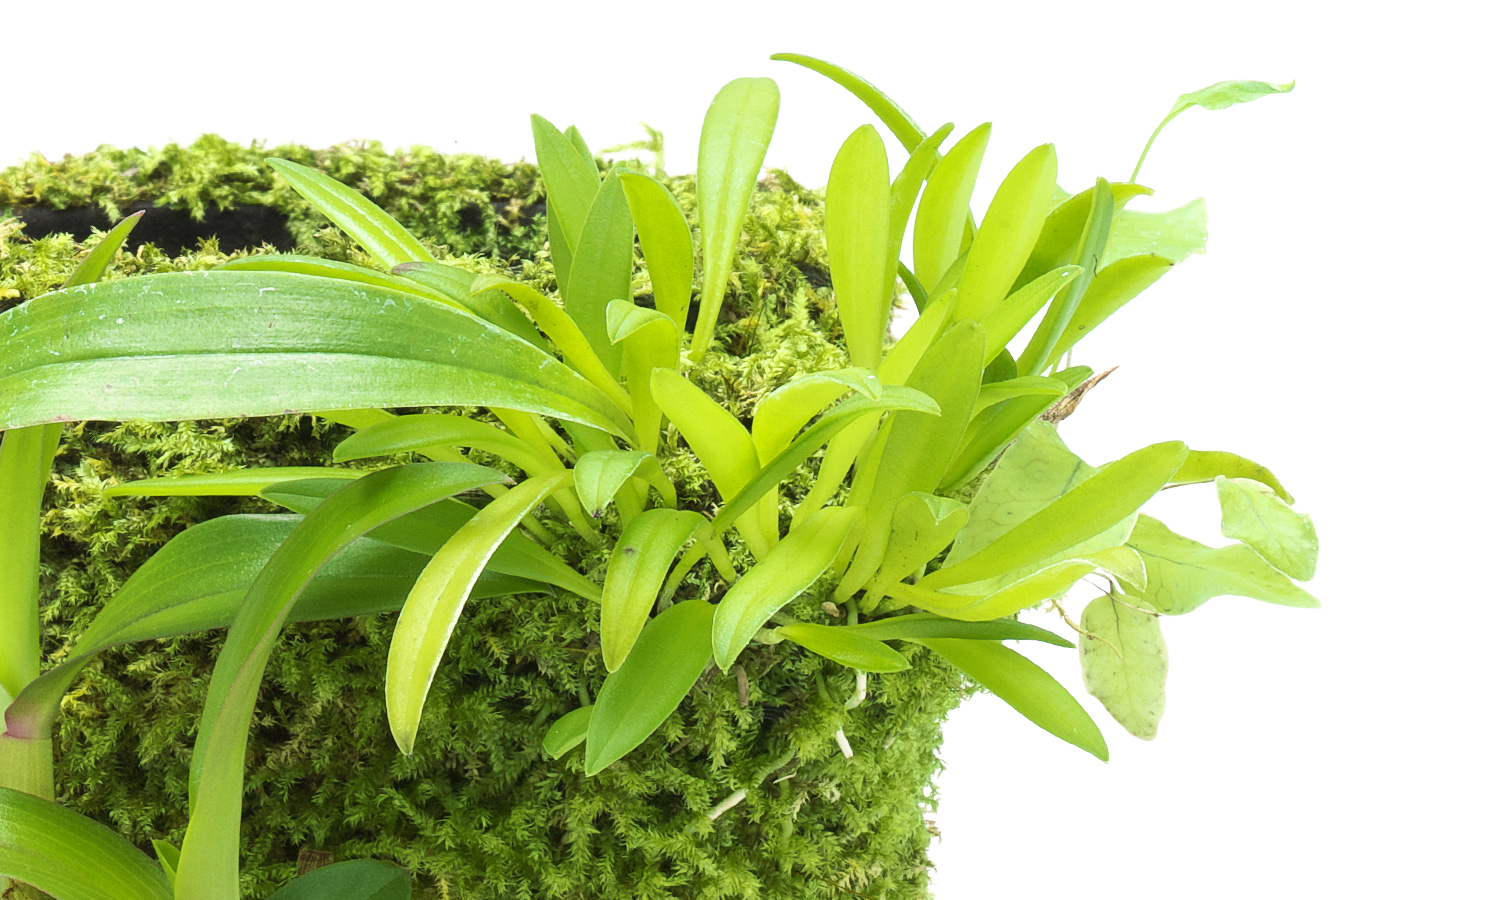
When the moss was removed to change the layout after the flowers were done, it was surprising to see how the roots were spreading out.
The epiphytic roots spread out radially as if they were hugging the Terra Base underneath the moss, and it was enough to go around the Terra Base.
Because the growth environment (light・humidity・temperature) was well-prepared with a focus on the Terra Base, it was possible to enjoy the flowers of the epiphytic orchids satisfyingly even indoors.
In order for roots to grow healthily, oxygen supply is necessary.
Although this is just a guess, because water was added once a week, and the water slowly seeped out of the Terra Base, the appropriate amount of water and oxygen was constantly supplied. As a result, the roots might have been activated.
Roots are the barometer of plants for the healthy growth. As this applies to all plants, when the condition of plants are not favorable, it is recommended to check the root condition as soon as possible. The longer you wait to handle the situation, the worse the condition gets. Be careful because the plants may die in the worst case.
To be continued.